
PRIMUS
A mountain guide’s tips to winter hydration
Access to clean drinking water is essential for both longer winter expeditions and shorter ski trips in the mountains. We caught up with experienced mountain guide Carl Lundberg to find out how he plans his water supply during mountain expeditions - and how he melts snow in particular.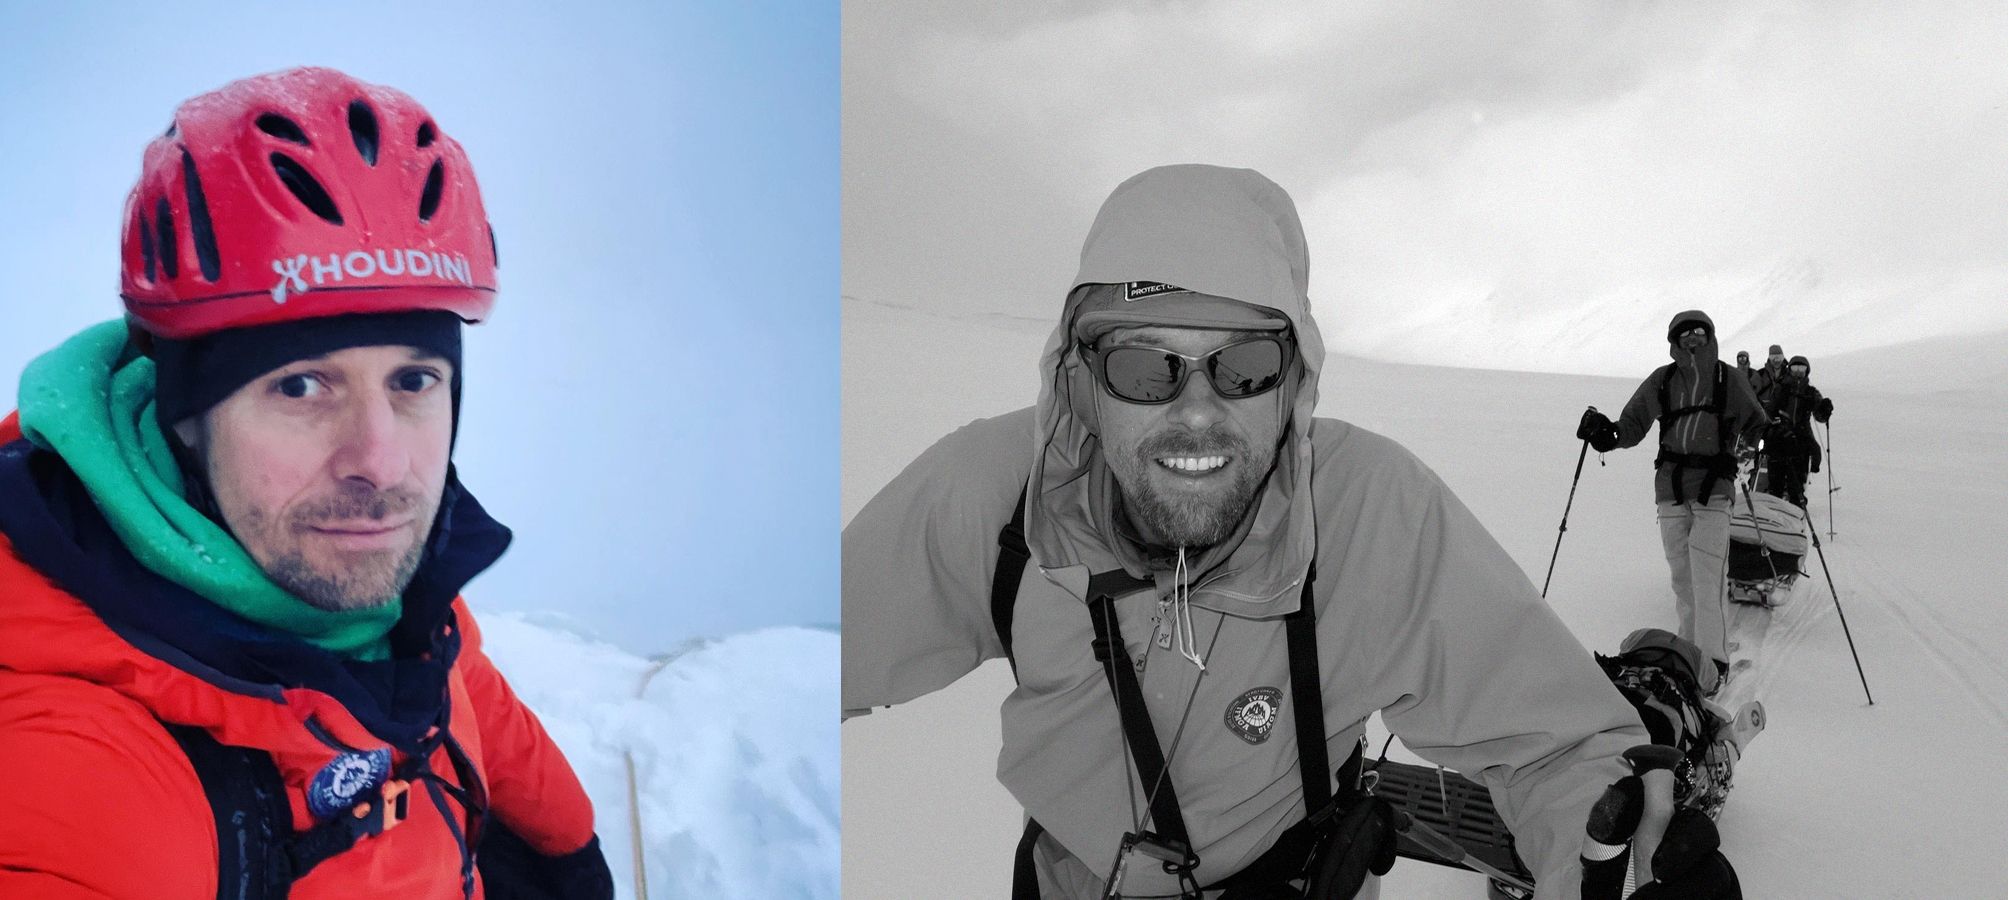
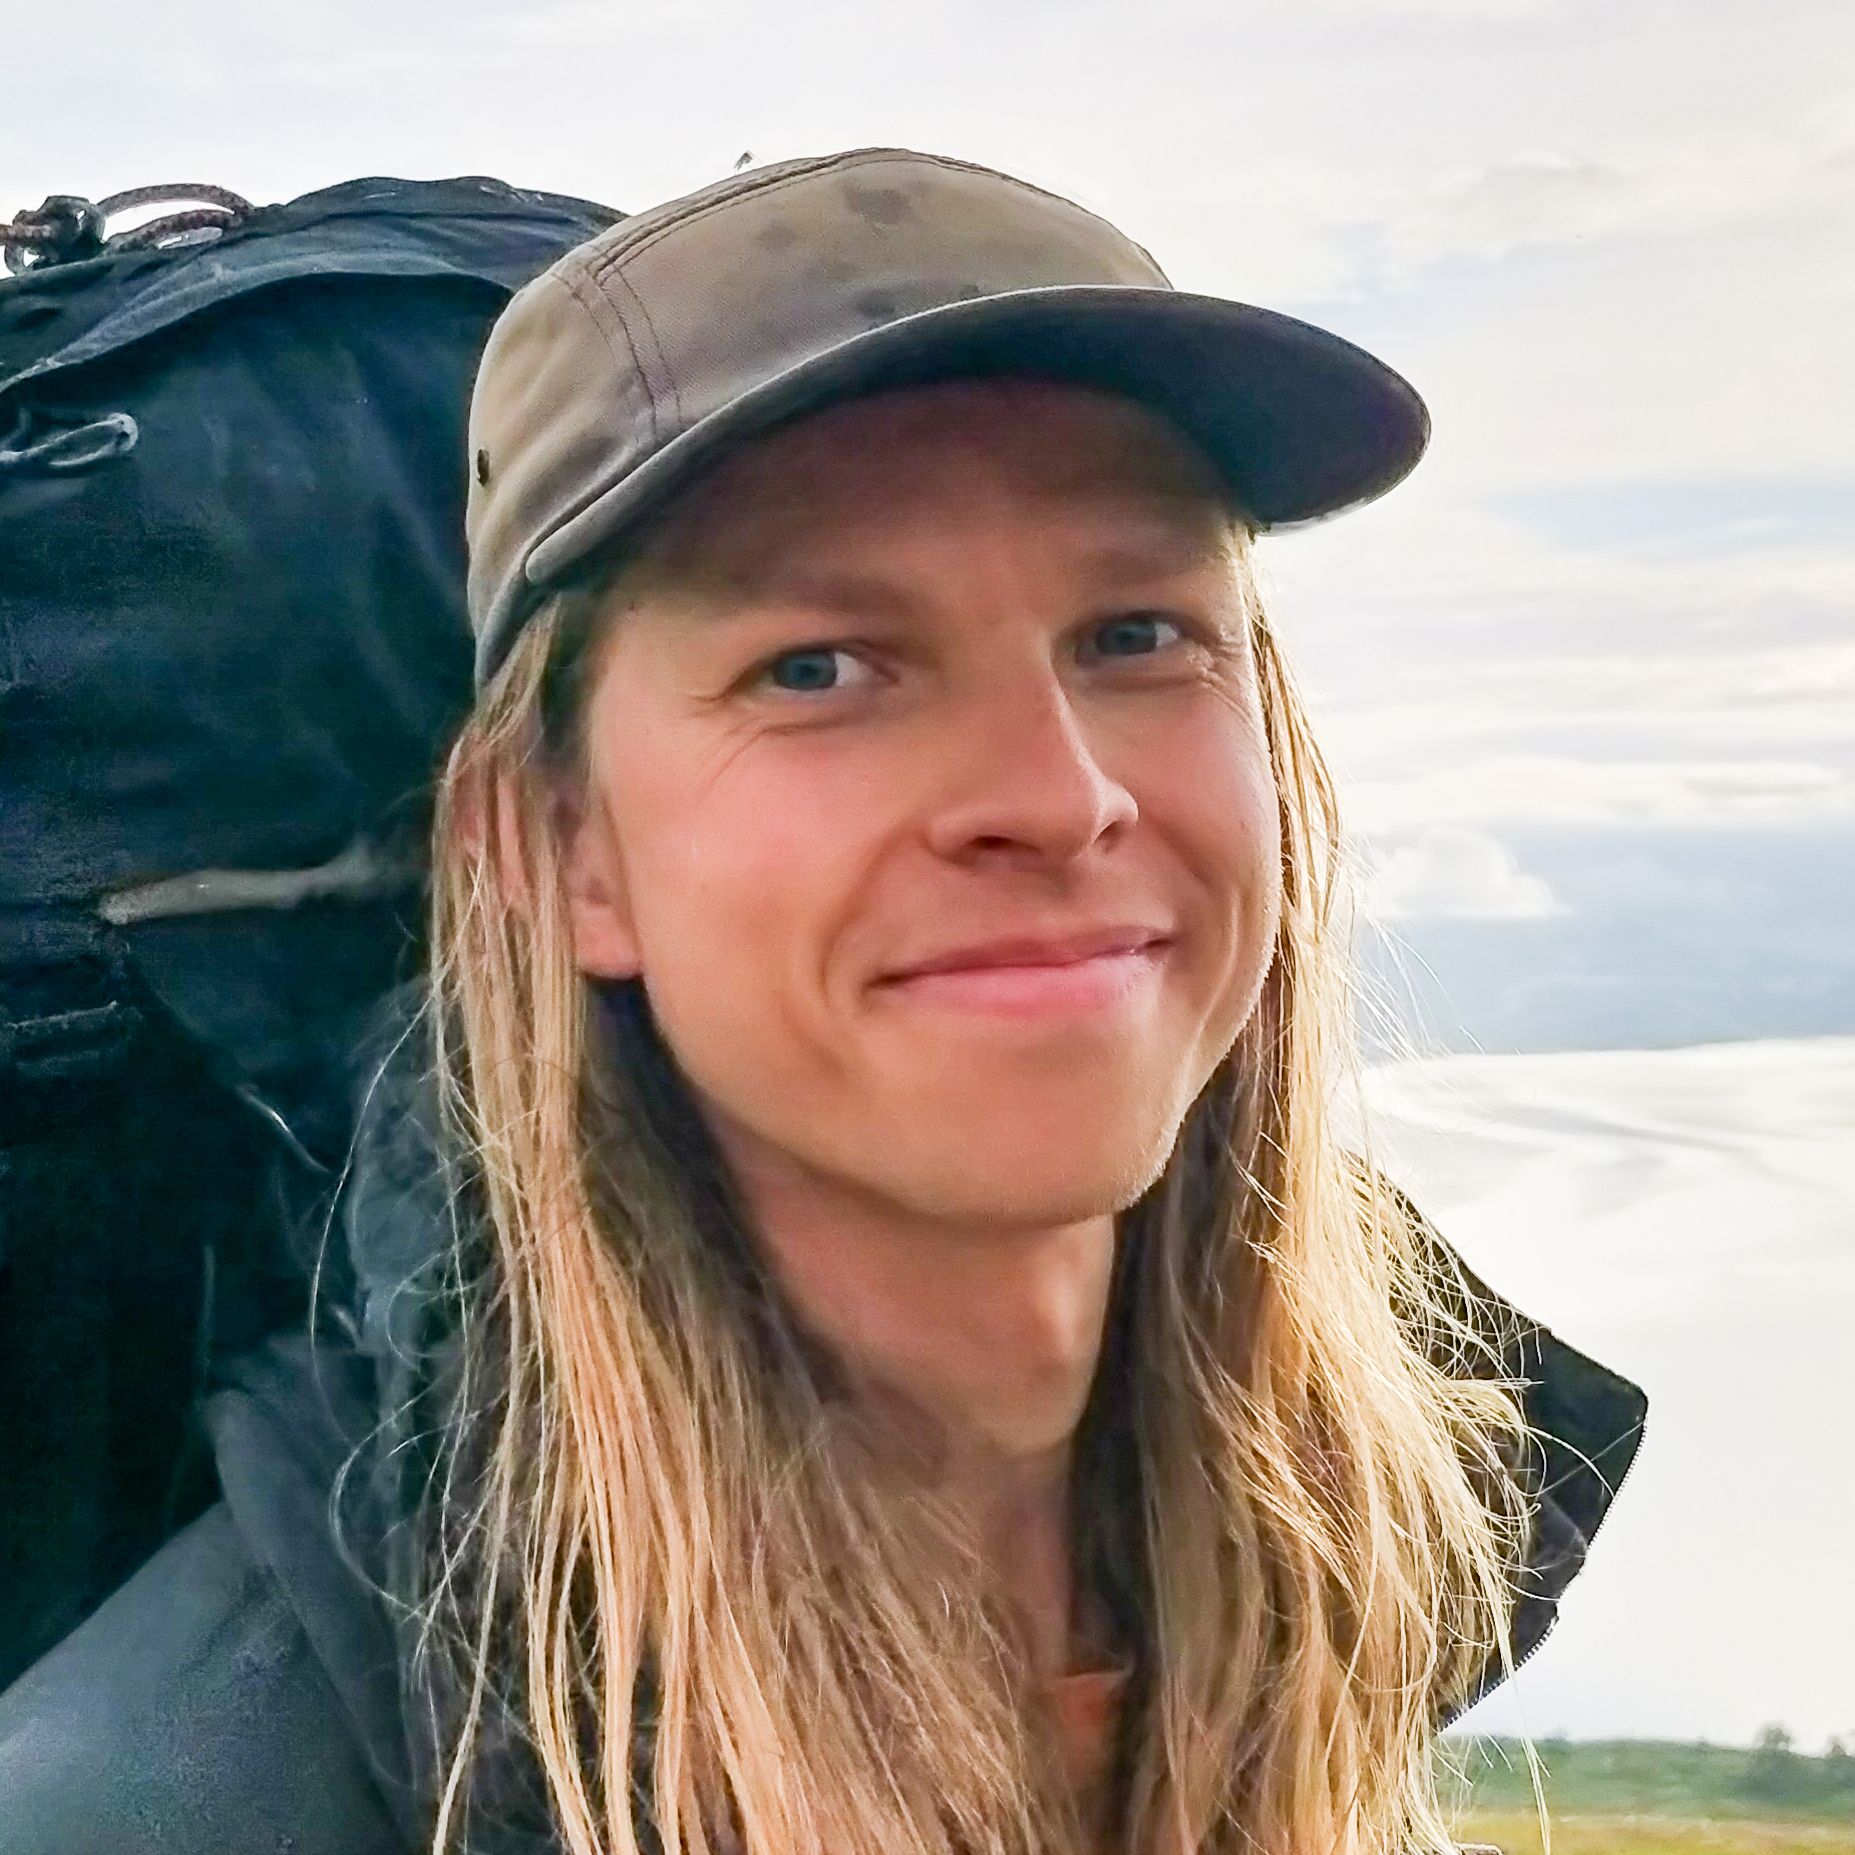
Mountain guide Carl Lundberg
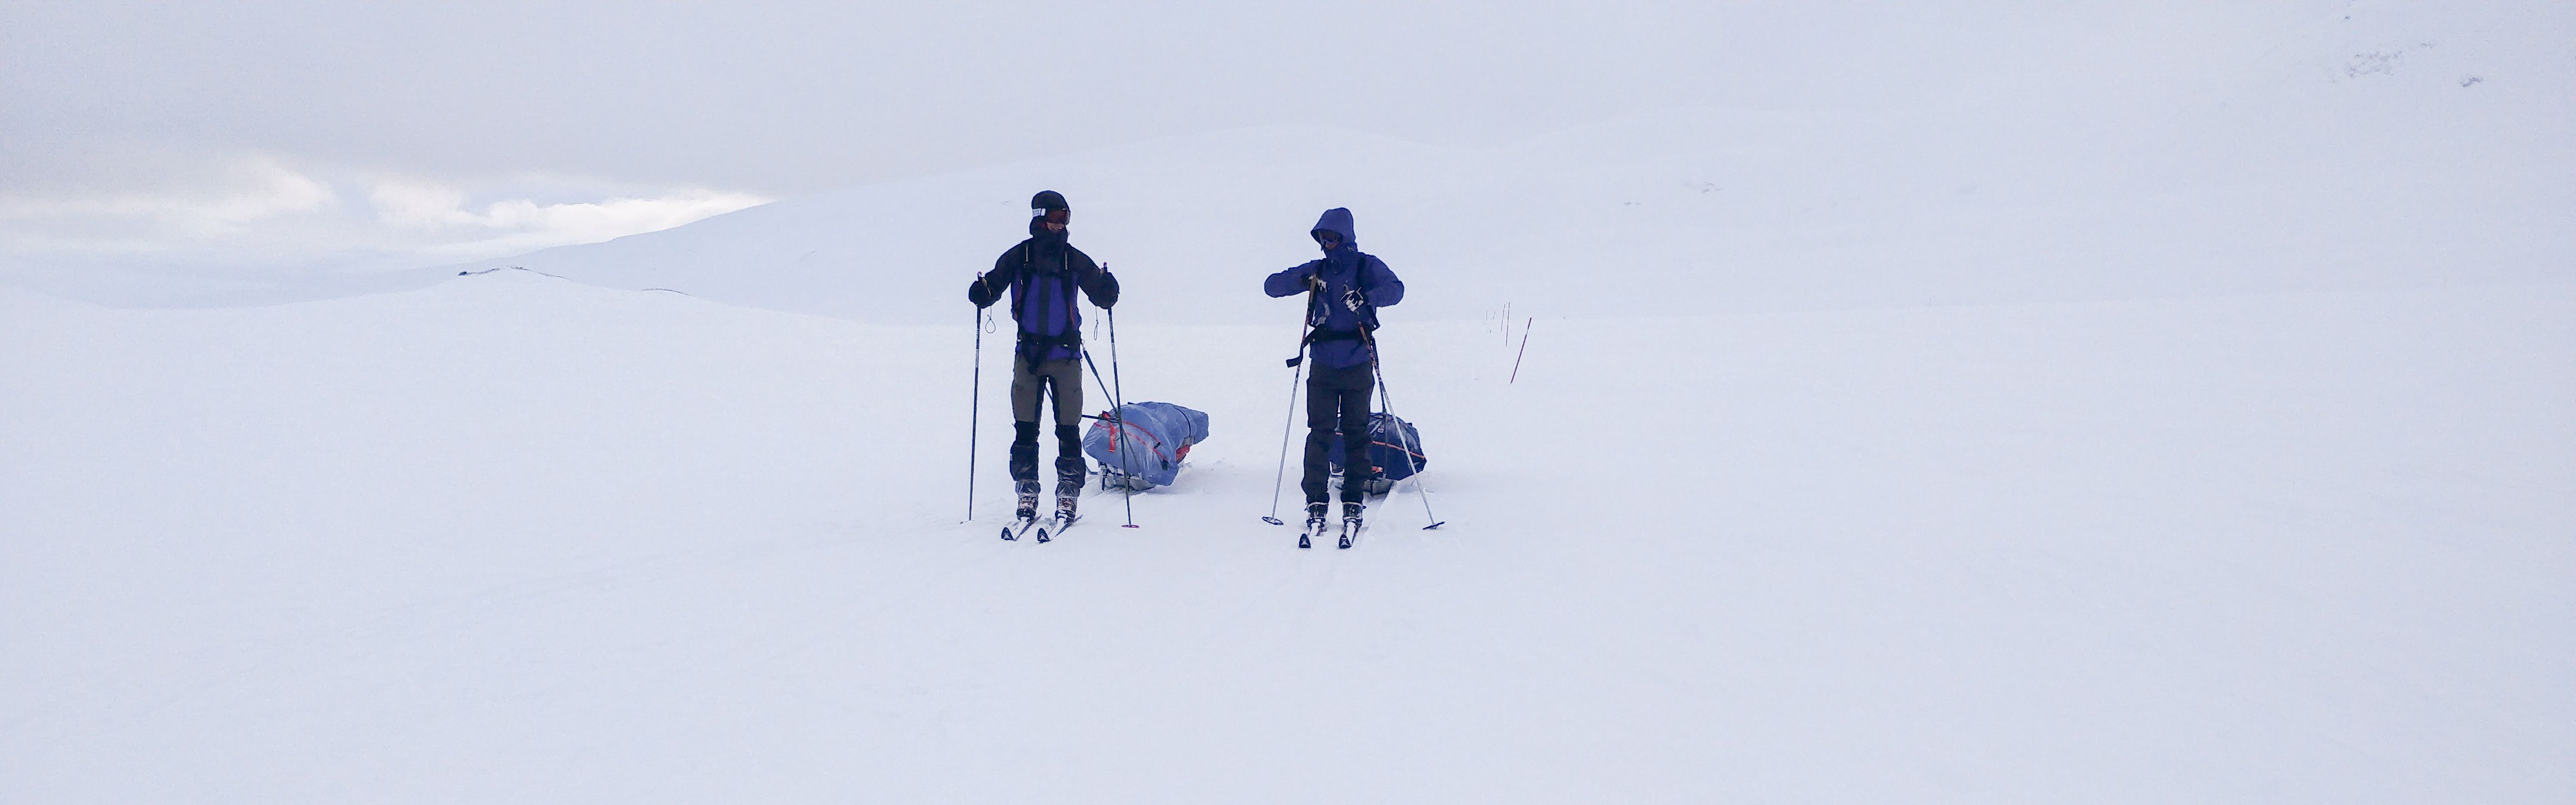
No matter what time of year you go out in nature, access to fresh drinking water is essential for a safe and enjoyable trip. When the snow has settled, running water may not be available, especially in high alpine environments. Instead, it is important to plan on melting snow and ice with your storm kitchen – and know how to do it.
Carl Lundberg has spent most of his adult life in alpine winter environments. First as an enthusiastic skier and climber and then fifteen years as a certified mountain guide with a focus on sustainability and summit tours in Sweden and Norway. He is now also chairperson and part of the training group within the Swedish Mountain Guide Organization (SBO). And if anyone has practiced snow melting in different environments and weather conditions, it is mountain guides.
“Running clean water in a stream is always the first choice. Second, I use ice and last, snow, which takes the longest time and requires the most fuel,” says Carl Lundberg.
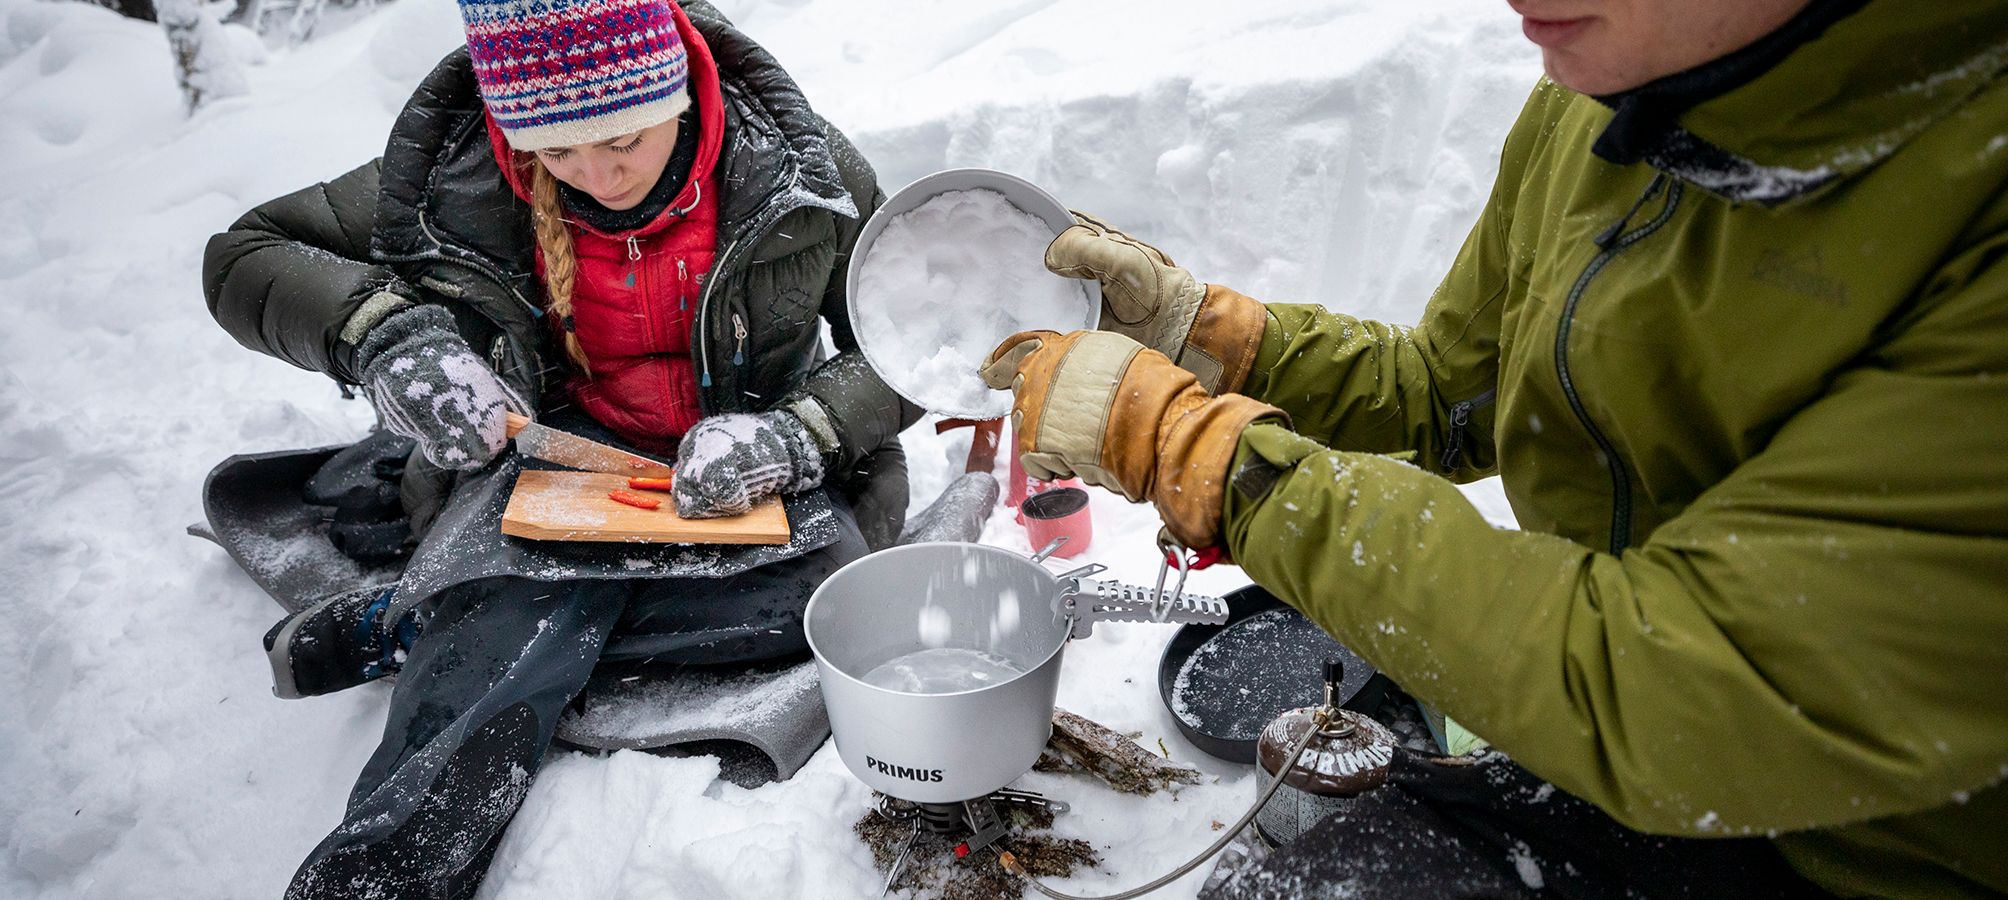
Carl Lundberg plans his water consumption already when he packs his equipment and decides which water bottles and thermoses will accompany him on the trip. If there is no running water along the way, snow melting is the order of the day. Carl Lundberg melts ice and snow both in the morning and evening and prefers to carry 1-2 liters of water for the day's activities. If he needs more water than that, he melts snow along the way.
"How much water I need depends on the weather and how much I sweat. I do everything I can not to sweat, both to avoid getting wet and because I know I have limited fluids. Work on your attire and pace to avoid sweating and replenish as much fluid as you need," he says.
What is the best way to melt snow?
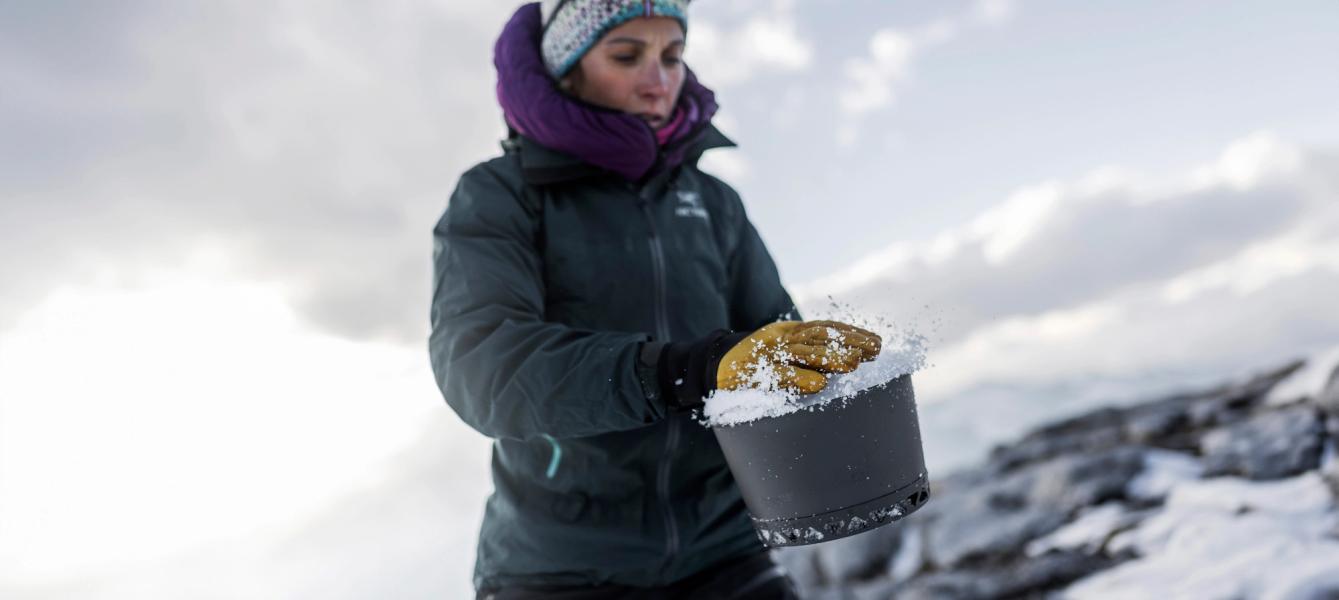
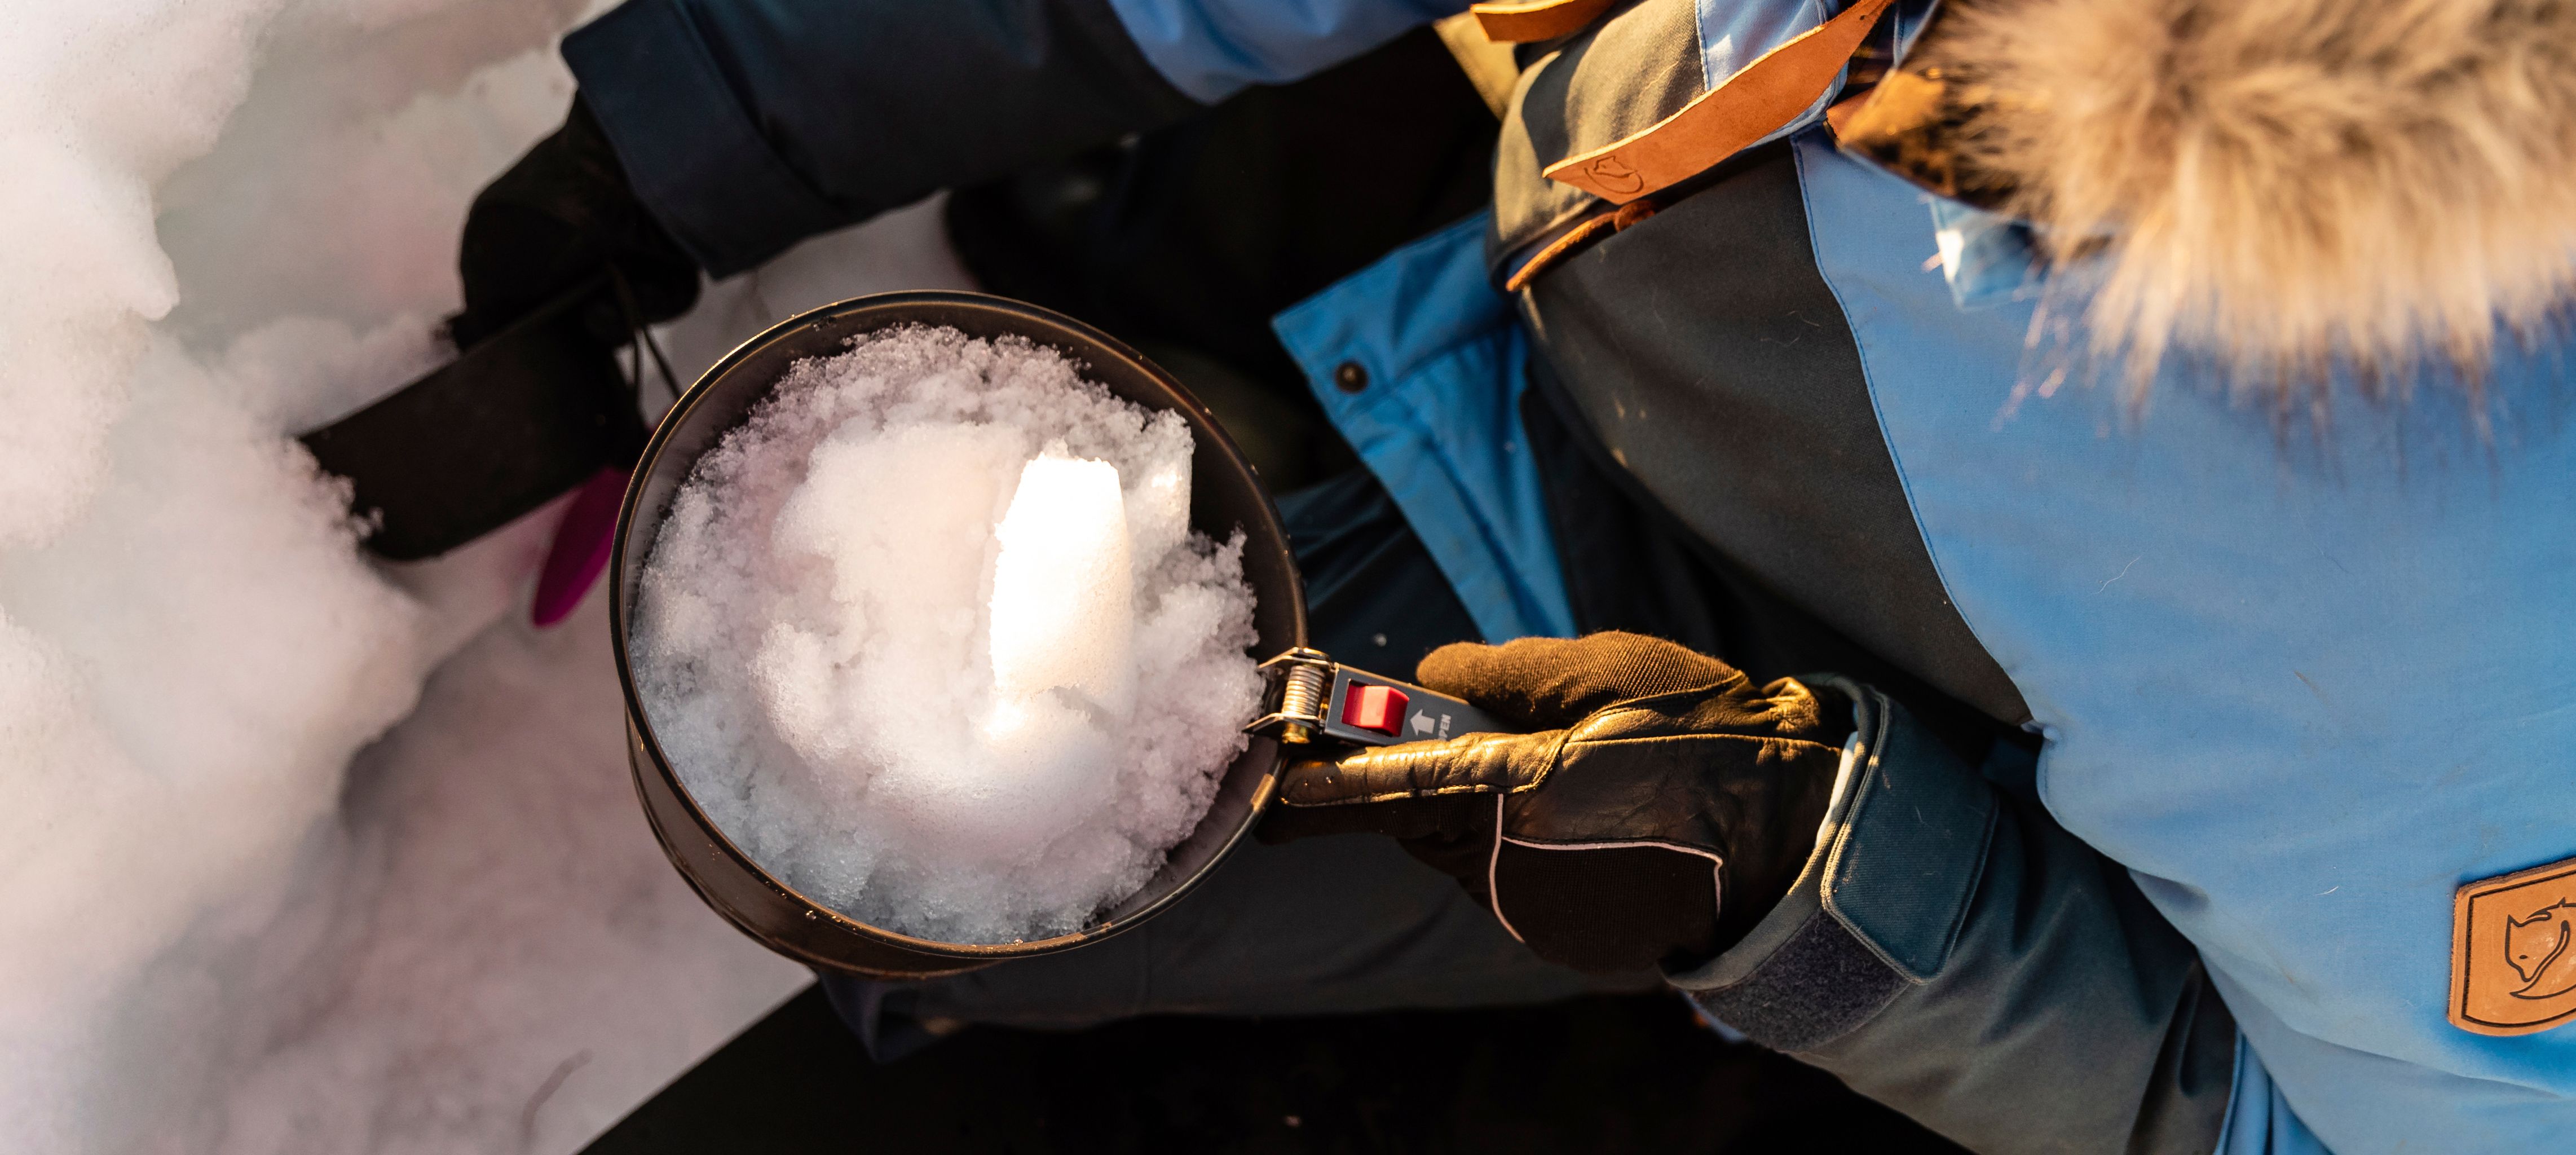
Carl Lundberg has many years of experience in melting snow in different types of environments. For him, two things are particularly important. Firstly, that the melted snow and ice is clean and free from dirt. A good tip to get clean water is to dig away a small layer of snow and then take a block of snow to melt from below.
“I usually choose snow that is close to water or ice from bodies of water. There it is easier to determine if the snow is clean by looking at the color, if it has particles in it and if it is new snow or if it is old. If you are still unsure about the purity of the water, you can boil it or use a water filter.”
Another key factor is how compact the snow or ice is.
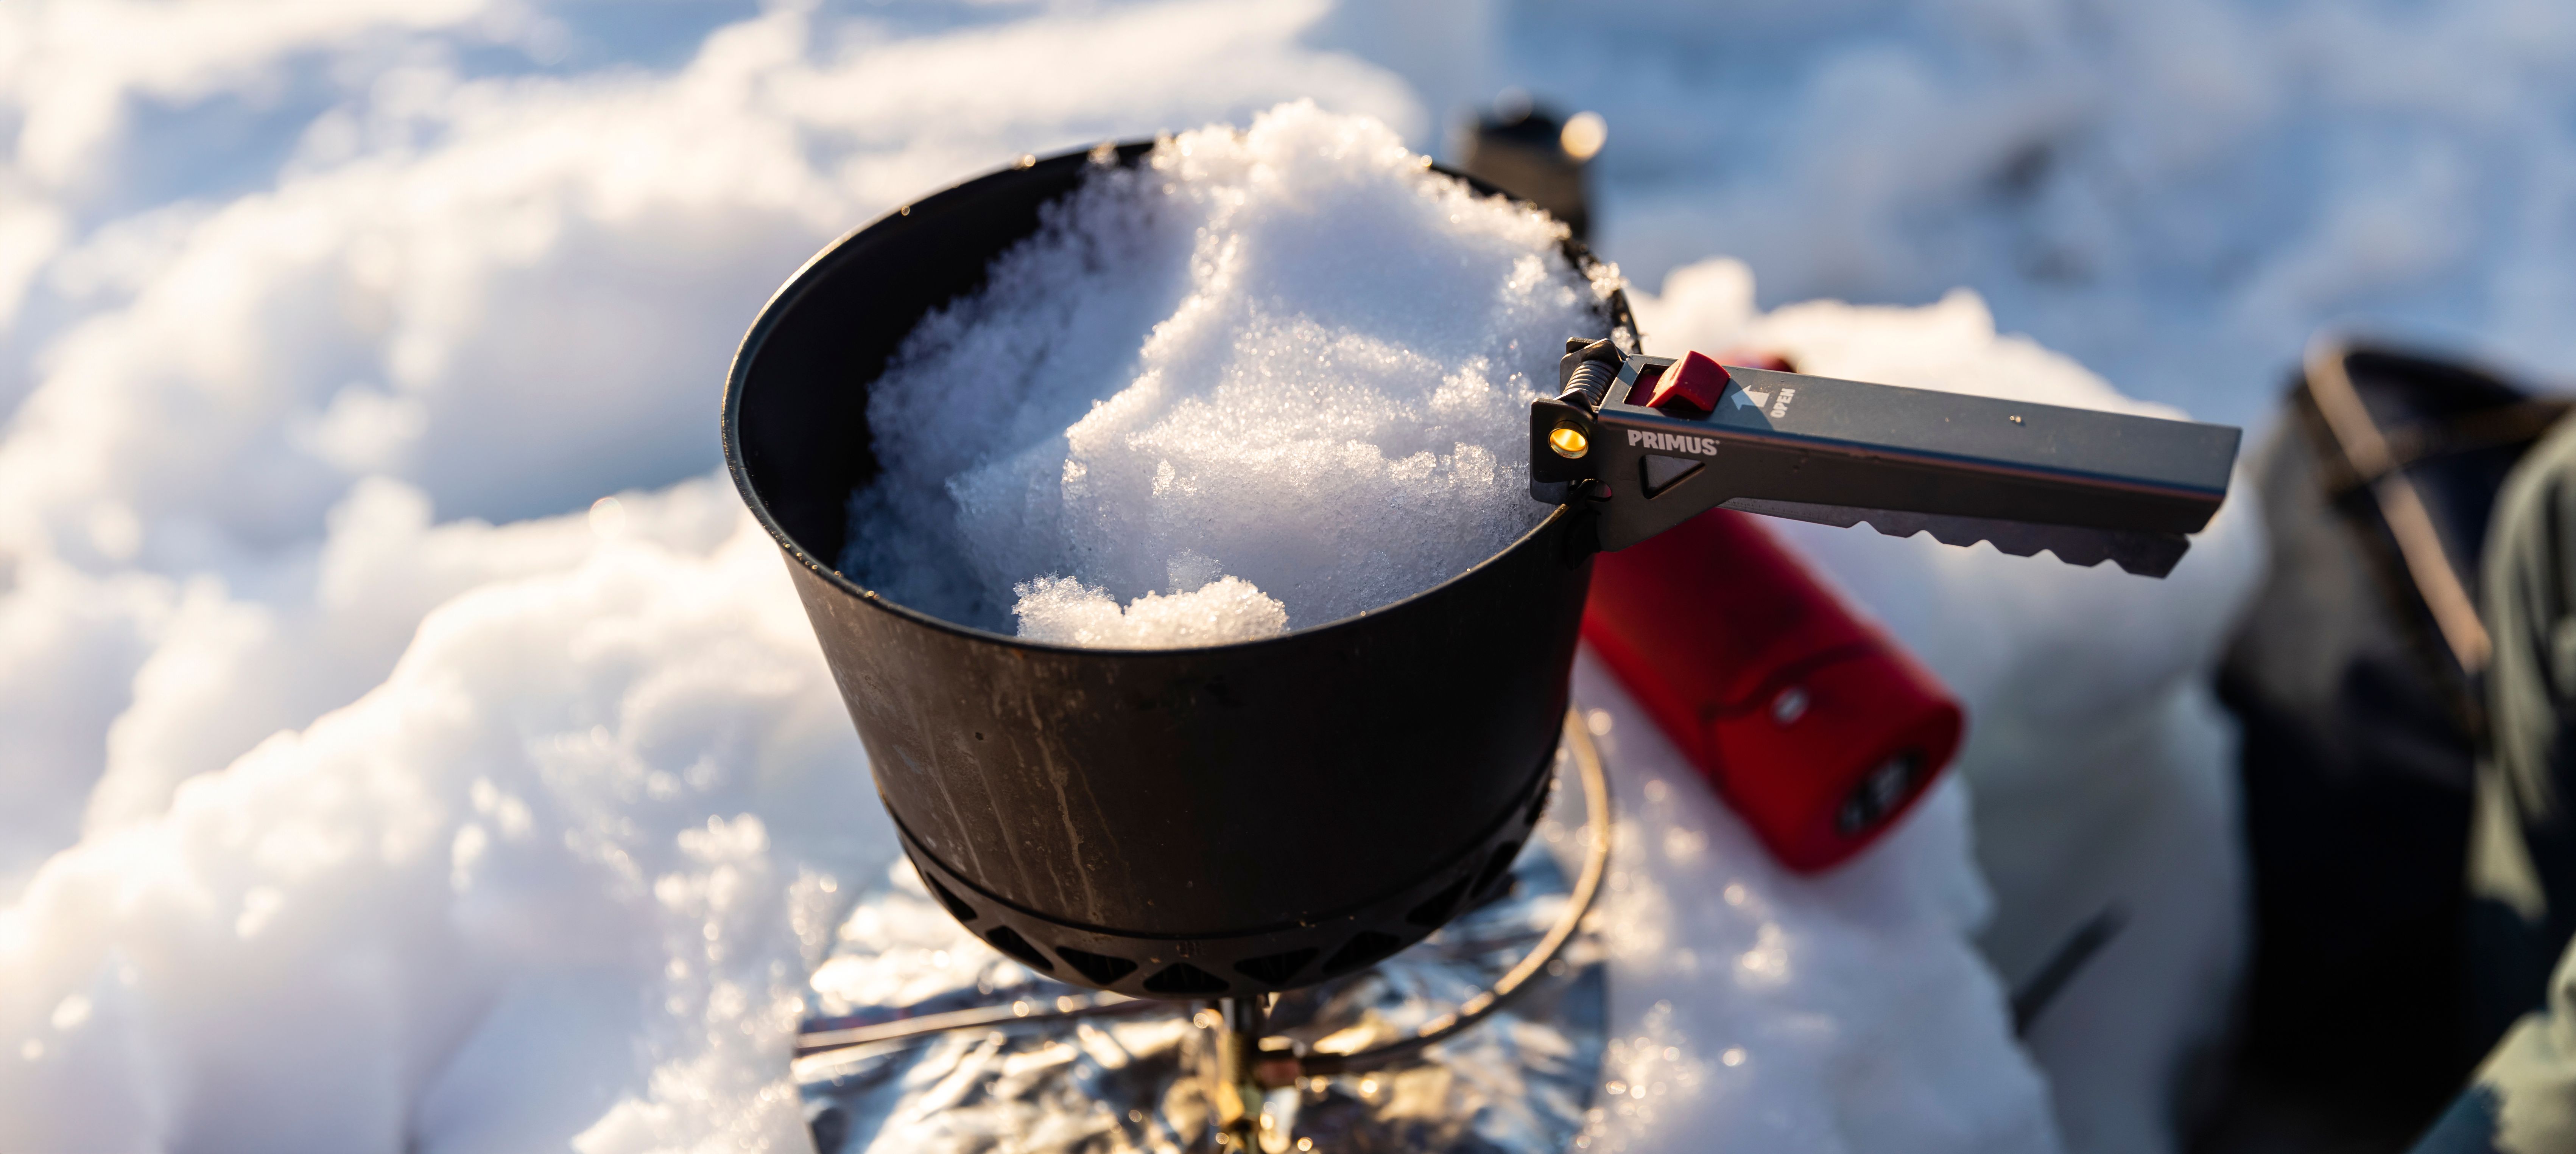
“It takes less energy to melt ice than snow because you don't have to heat the air in the snow. If only snow is available, you can compress the snow that you are going to melt yourself. Then the crystals make contact and can conduct the heat better," explains Carl Lundberg.
It takes a lot of snow to melt water. It is therefore a good idea to use large pots with lids and windscreens that retain as much heat as possible. Don't heat the snow at too high a temperature at the beginning, as this can burn the pot. Once a little water has collected in the bottom of the pot, you can increase the heat.
“It is important to pour a little water into the pot first and then fill it with snow, otherwise the pot may get damaged. If you want, you can add some vitamin C soda or liquid substitute for flavor and to get the much-needed salts and minerals," he says.
For a group of 2-4 people, you can expect an hour of snow melting in the evening and an hour in the morning. The water melted in the evening can also be poured into heat-resistant water bottles and used as a warming element in the sleeping bag.
“It's super cozy to have warm bottles in your sleeping bag at night. You'll also have water to start with in the morning, so you can get going faster instead of starting the day melting snow.”
Which storm kitchen do you use for melting snow?
Calle Lundberg decides which stove to take depending on the length of the trip and whether he will need to melt snow along the way.
“For me, the length of the trip determines which fuel I pack with me. Gas stoves are by far the easiest, but if you're going to be out for a long time, you'll need to pack a lot of gas bottles. There are gas tubes and gas mixtures that are suitable for winter. A storm stove with preheated gas is more efficient, especially in winter. If I'm going on a winter trip for more than a week, I usually choose liquid fuel like gasoline or kerosene. These stoves have a higher output so that the snow melts faster.”
Another important thing that Carl Lundberg always has with him on his winter trips is a plate to put the storm kitchen on so that it does not sink into the snow.
“Unless the packing needs to be super light, it is very practical to mount both the kitchen and the windbreak on a plate so that they do not sink into the snow from the heat," he says.
Being used to handling your storm kitchen is another important factor that Carl Lundberg wants to highlight. It is also important to have spare parts and tools in your pack so that you can service/repair the stove if necessary.
“Always carry more fuel than you expect to use. Write down how much fuel you used on the trip so you can plan carefully for the next trip. And finally, don't forget matches and preferably an extra lighter or fire starter if the matches get wet," says Carl Lundberg.
February 07 2022