
PRIMUS
The Art of Making a Fire
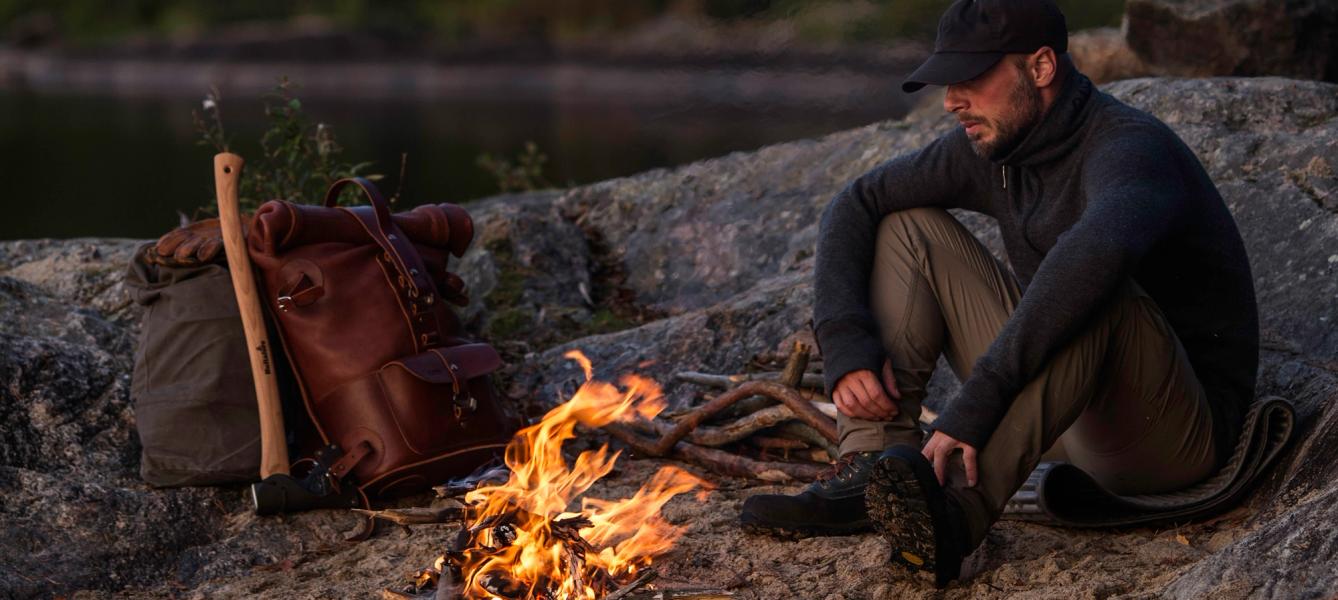
There's something special about sitting around a crackling campfire. It lets us cook or grill delicious food, provides warmth and light, and offers the opportunity to share stories and memories. But what is the best way to make a fire? The answer to this and many more questions are found in this fire guide.Making a fire has been a vital skill for thousands of years. This knowledge has been passed down from generation to generation and has not only provided food on the table, but has also served as an important gathering point for people and societies around the world. Even though the art of making a fire is not as vital today as it once was, many still enjoy the warmth, light, and ability to cook food in nature.
WHERE CAN I MAKE A FIRE?
If you are going to make a fire, it is important to consider the landowner and nature. Breaking branches and twigs from living bushes and trees is not permitted, so always use material that is already on the ground. It is also your responsibility to check if there is an active local fire ban in the area and to ensure that neither the land, animals, nor plants are damaged from your fire.
The first thing you should do is choose a place where the risks posed by the fire are as limited as possible. Do not light fires in strong winds or near buildings. The closest distance to a building should be 50 meters.
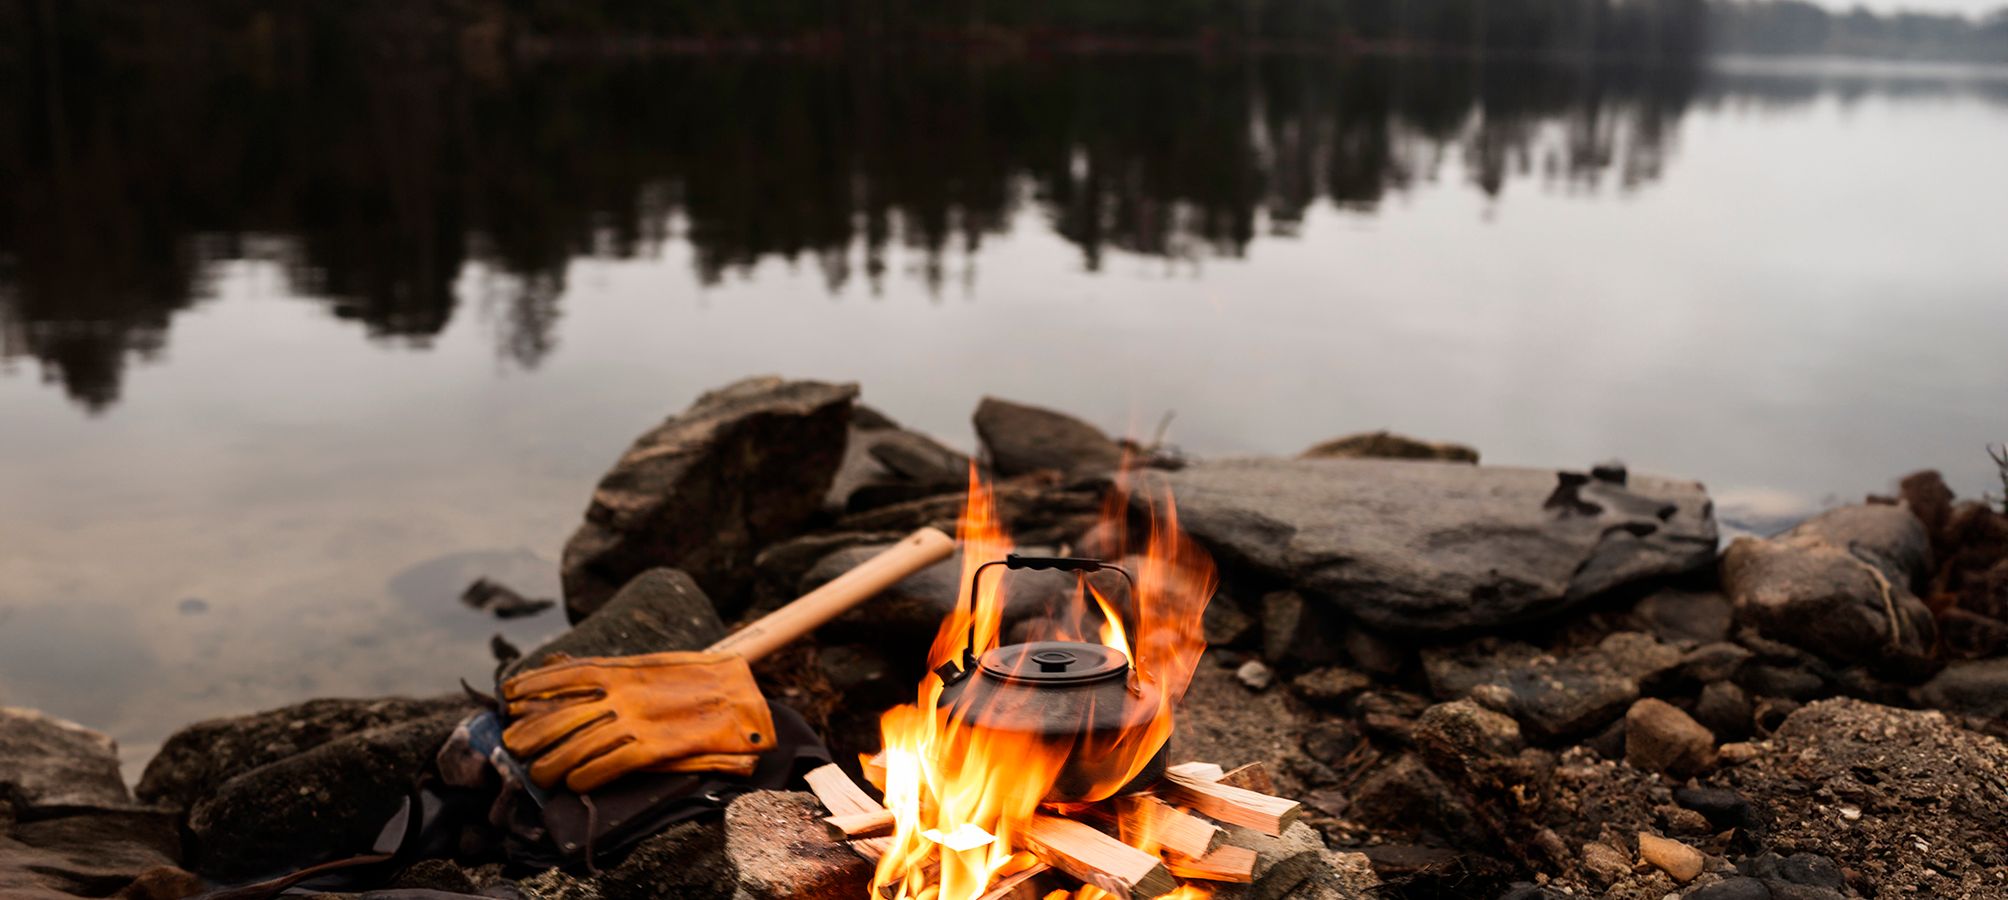
Have the necessary tools at hand, such as a small shovel and a bucket of water to extinguish the fire in case of an accident. If you don't have enough water with you to put out the fire, you can choose a place not too far from the water to be safe.
Do light fires on: An existing fire pit in nature, or by making one on damp soil, a stone beach, or on sandy ground. If there is no firepit, the Primus Kamoto Openfire Pit is a great option as it has a large base plate that protects the ground from ash, helping to ensure that the fire does not leave any traces.
Do not light fires: directly on or near rock faces (they can fracture). Avoid coniferous trees, dry bushes, and tall grass as they can easily catch fire. Also avoid fires on moss, peatland or earthy woodland as the fire can spread or smolder in the ground and then flare up again. Anthills and stumps are also difficult to extinguish if they catch fire.
HOW TO LIGHT THE FIRE
Once you have found a suitable location, it's time to light the fire. Every fire needs three things, the so-called “fire triangle”: dry and easily flammable material, heat, and oxygen. You can either take dry material with you or use what nature has to offer. Spruce, pine, and birch are good woods to make a fire with. A great tip is to gather plenty of material first and then sort it by size before lighting the fire.
Tinder
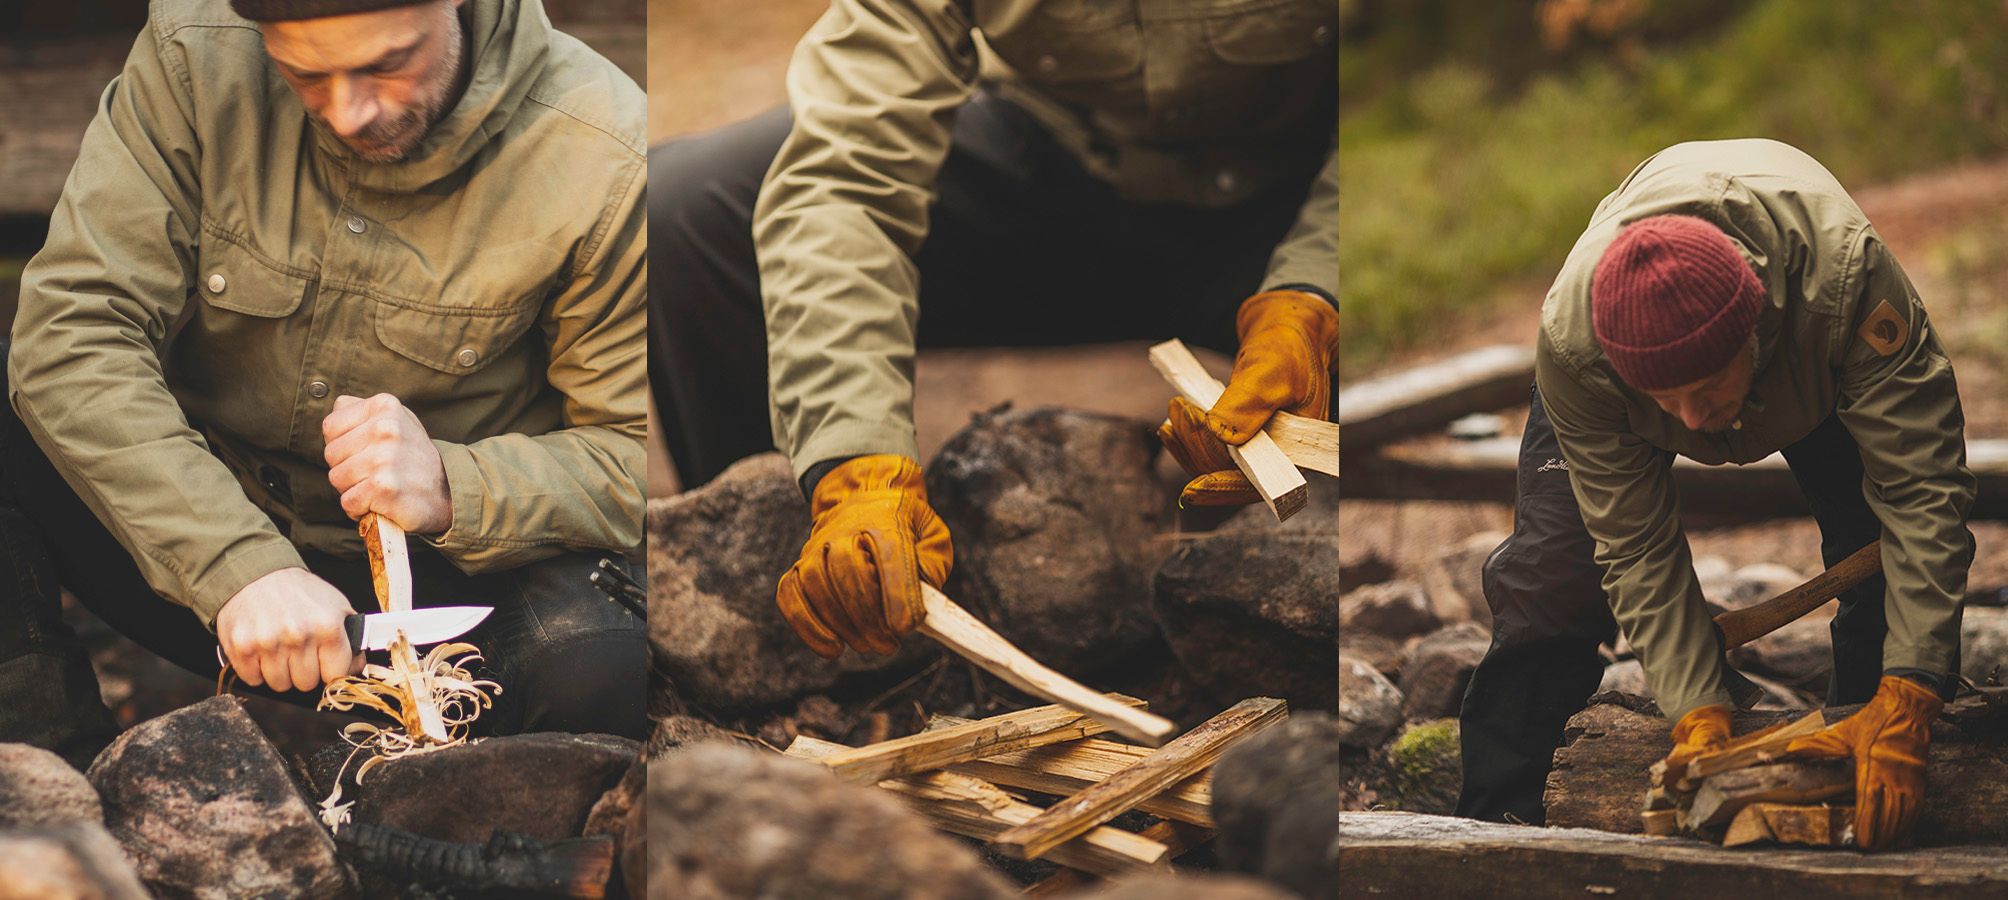
A basic principle when making a fire is to go from small to big. The smallest material is called tinder, and this is what first catches fire. It can be birch bark, dry grass, or pitch firewood from an old pine stump. A good practice is to always bring a small waterproof container with tinder on your adventures. A tampon or cotton ball smeared with petroleum jelly is a classic wilderness trick that provides a stable flame. If the ground is cold or damp, it's a good idea to try and get the fire off the ground by building a “raft” of sticks below. If it's windy, it's good to build a windbreak using things you have with you or find at the site. Get down on your knees and light match/lighter right next to the tinder and then ignite.
Kindling
Have a pile of small kindling right next to the fire, ready to add. Once the tinder has caught fire, you can start feeding the fire with kindling like 10-15 centimeter long twigs, “feather sticks,” or other dry material that you find on the ground. If the material is wet, you can whittle away the outer layer with your knife or split large logs to access the drier heartwood inside. Always place the materials at an appropriate distance apart – about 0.5–1 centimeter – so that the fire always gets enough oxygen.
Firewood
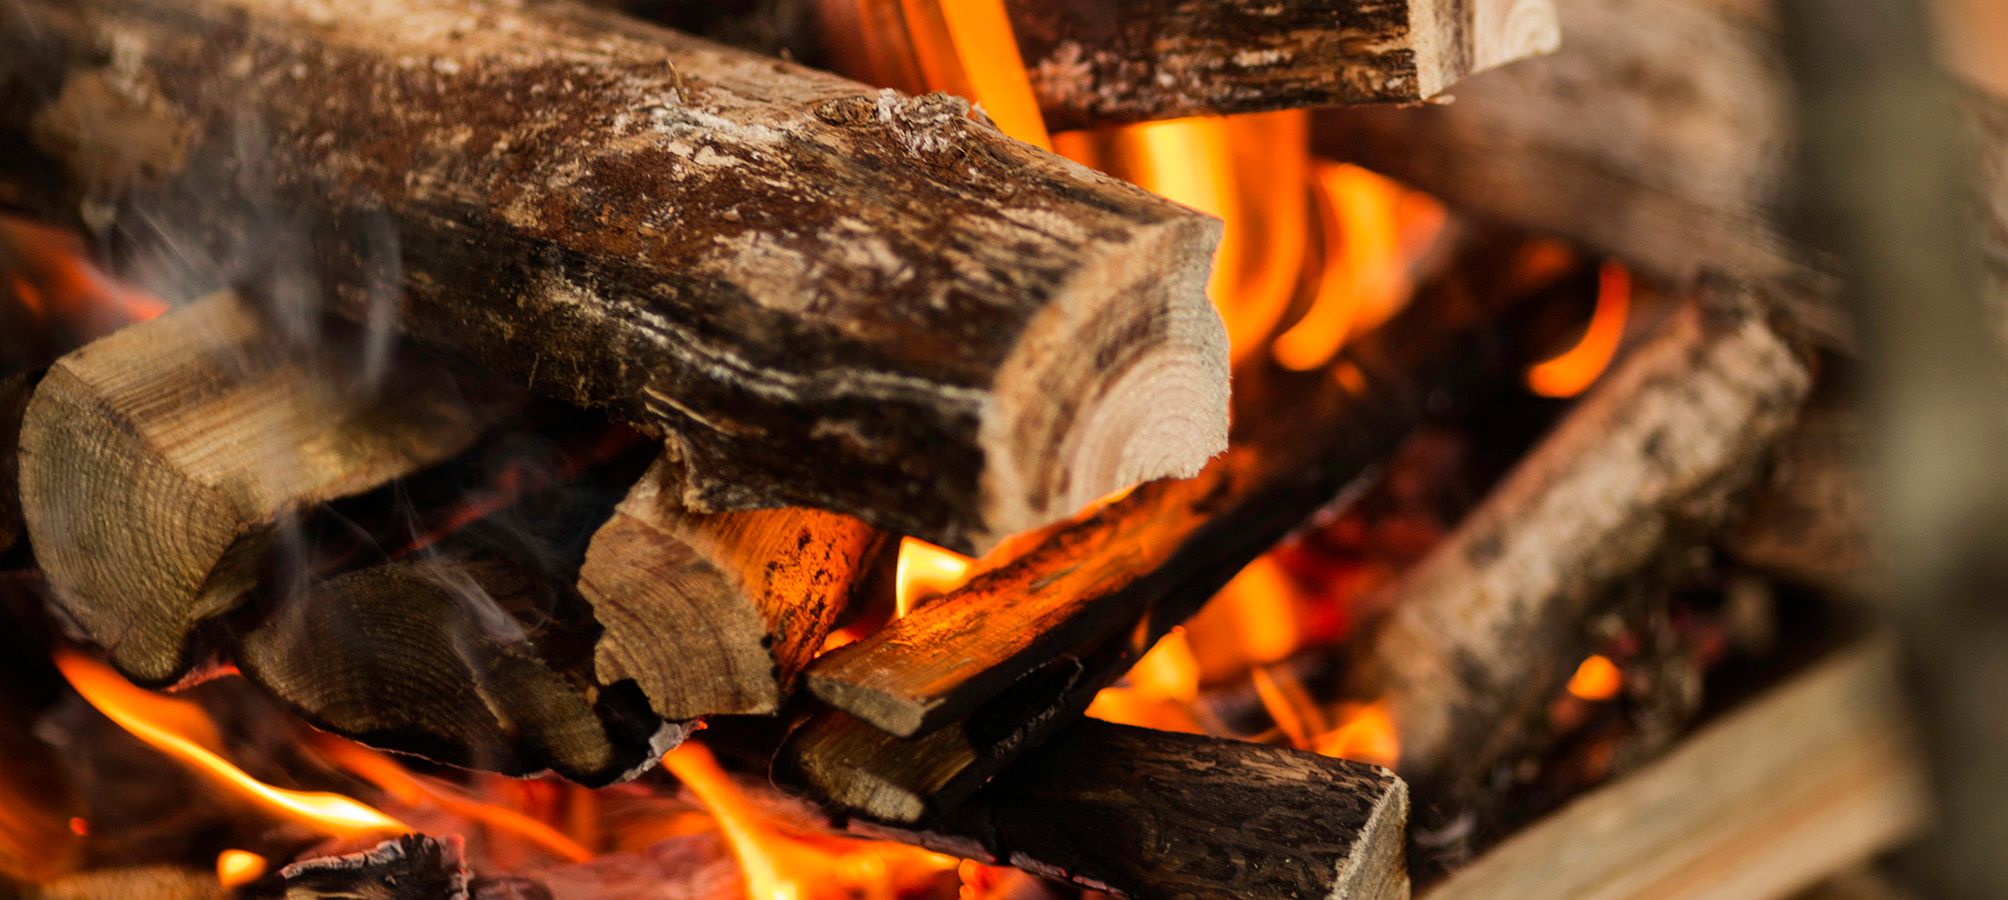
When the fire has started to take hold, it's time to use the primary firewood made up of larger branches. If your goal is to create a cozy fire to sit around that doesn’t need to be fired up as often, it's best to start with thinner branches and logs and add thicker pieces as the fire progresses. For cooking fire, a tip to avoid burning your food is to only use smaller sticks adding to the fire more frequently to keep a consistent flame. This creates a hot layer of embers faster than using big logs, and small sticks emit less smoke.
A common mistake is to feed the fire too quickly or too tightly, thus suffocating it. The fire always needs oxygen to thrive. Once the fire gets going, it only needs to be fed at regular intervals. Then it's time to just enjoy the warmth, light, and cozy atmosphere around the fire.
When you leave the spot, it's important to use plenty of water to completely extinguish the fire. You should be able to touch the ash and remaining coals to be sure the fire is completely out. Then, look around and always leave the spot in the same or better condition than you found it.
DIFFERENT TYPES OF FIRES
The pyramid fire is perhaps the most common campfire. The logs are placed leaning against each other, forming a stable structure and fire that catches quickly. This creates a beautiful fire that you can sit around and socialize.
Pagoda fire or “log cabin fire,” is great for cooking. It's built like a log cabin for optimal oxygen flow and stability. Once the fire has started, you can create a “roof” of logs where you can then place a grill, frying pan, or a pot.
Hunter's fire, blowtorch, brush fire, and log fire are other constructions that are often used in nature, both for cooking and for light and heat.
EQUIPMENT FOR LIGHTING THE FIRE
A sharp knife and a small ax or foldable saw are always great tools to have when making a fire. For ignition, you can choose between either matches, a lighter, storm matches, storm lighters, or a flint/steel. But note that there are advantages and disadvantages with each of these alternatives:
Matches: These are cheap, can be purchased everywhere, and are very common on outings. However, they can become useless if they get wet and work poorly when exposed to wind.
Lighter: In addition to being cheap and readily available, they also last a long time and work well if wet. However, it can be difficult to start a fire with a lighter when temperatures are below freezing outside. Therefore, always keep lighters close to your body in the winter. A good alternative is Primus PowerLighter. Its pointed flame has a scorching temperature of 1300°C, allowing you to ignite both the campfire or liquid fuel even under the toughest weather conditions.
Storm Matches: These work much better than regular matches if they get wet or if it's very windy. They usually are also sold in a waterproof container.
Storm Lighter: These have a hotter and more concentrated flame that is more effective in harsh weather conditions, although they do run out of fuel faster than regular lighters.
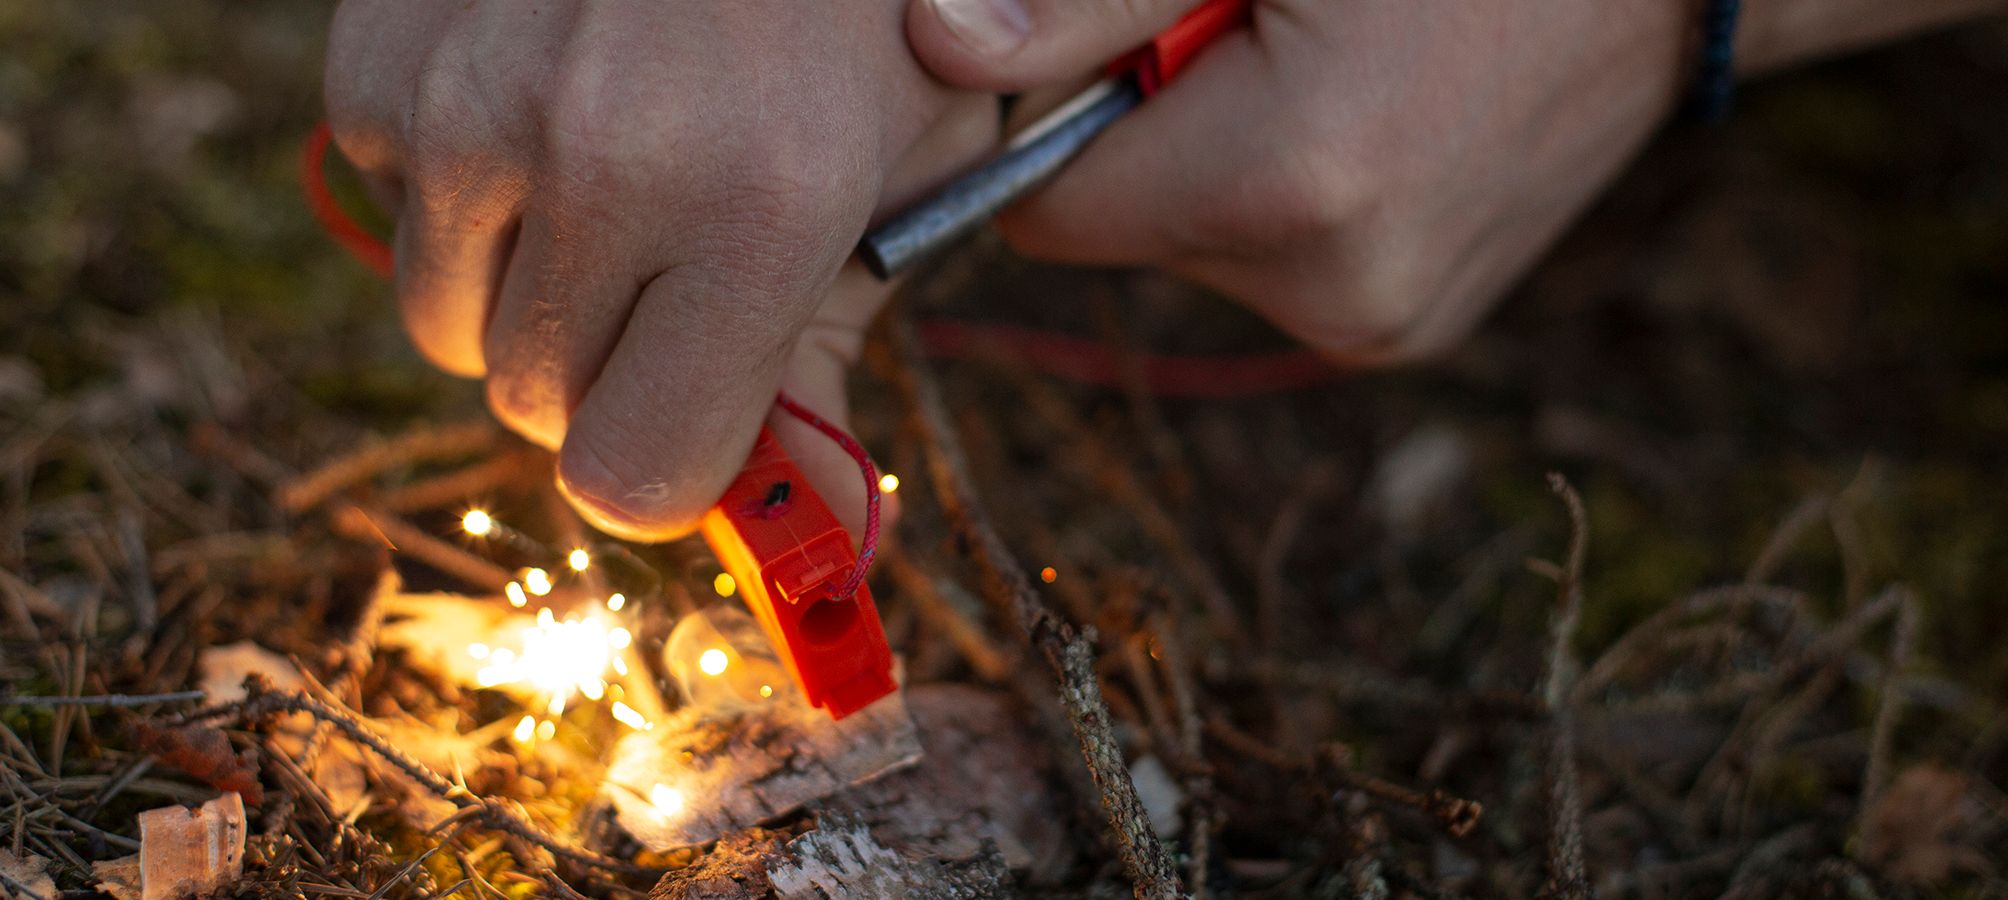
Flint/Steel: Today's flint and steel sets come with a magnesium alloy rod and a steel striker that is pulled against it to create sparks. This can light a fire even when it's wet and can produce more than 3,000 fires in its lifetime. With Primus Ignition Steel, you can light a fire in virtually any conditions.
February 07 2022