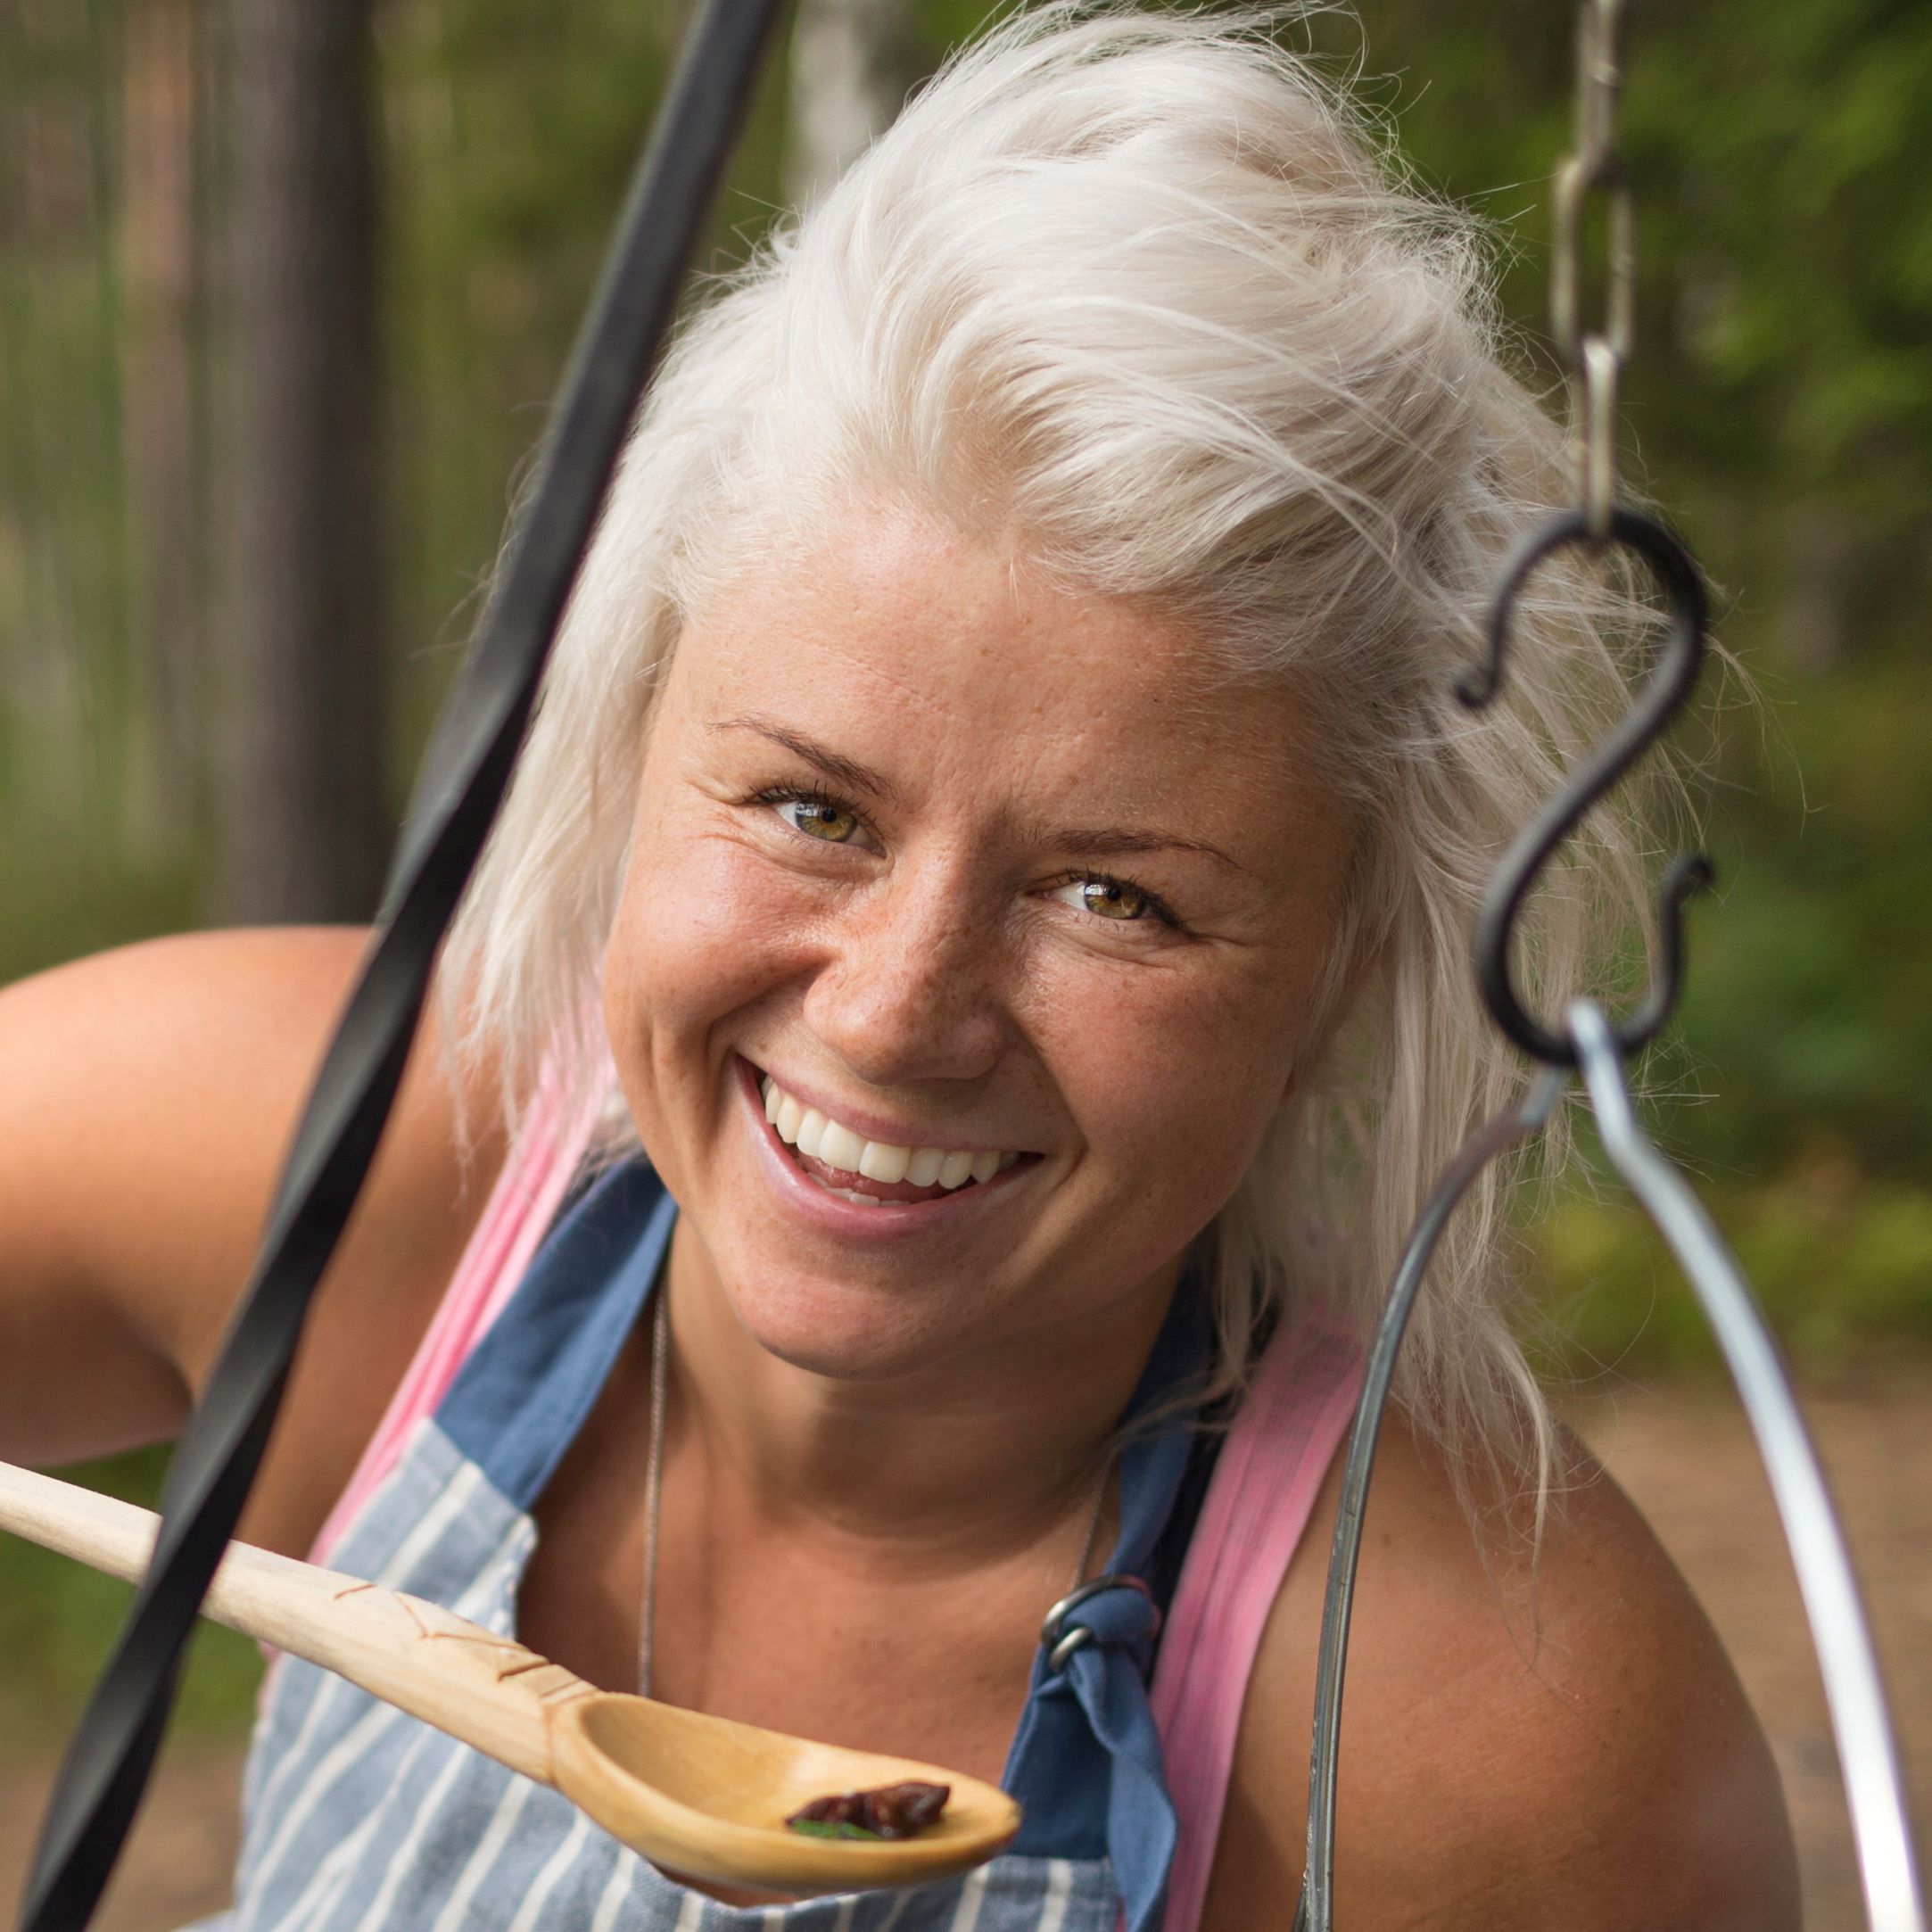
Elle Nikishkova
Save time on prep-use air-dried food
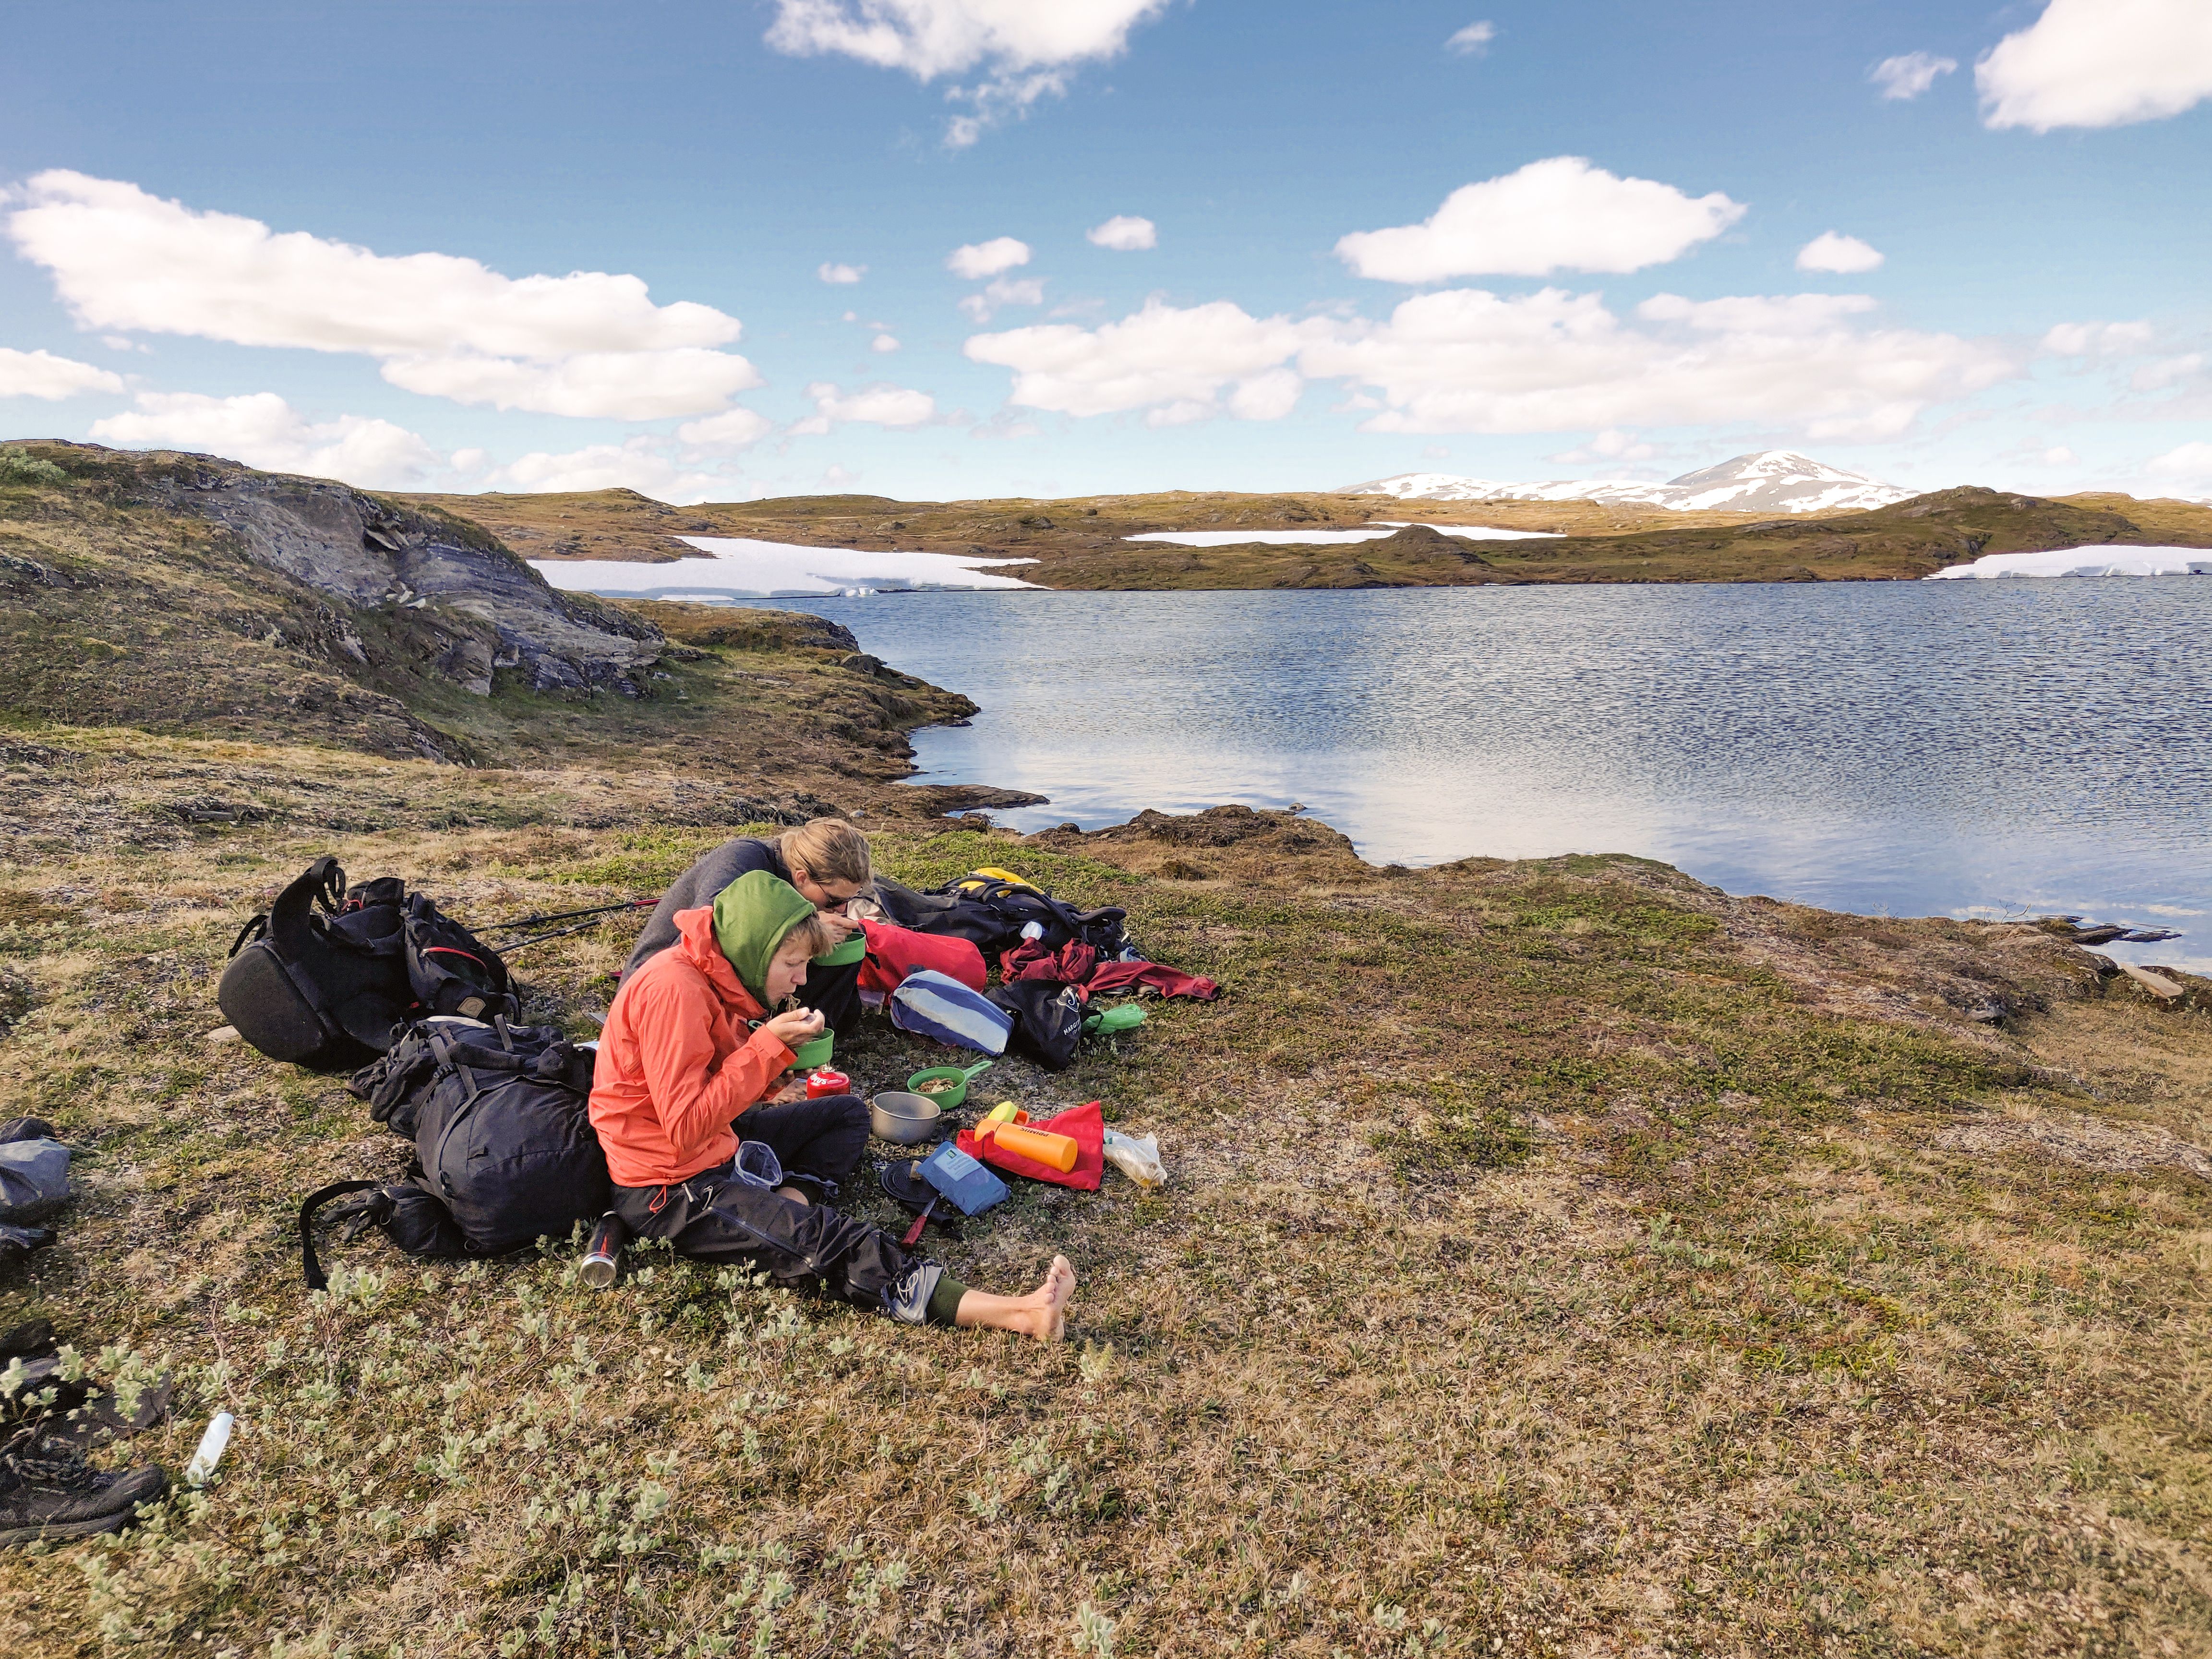
In my work as an outdoor chef, one of my main goals is to inspire people to do more cooking in the outdoors. Making food in nature is a very special experience, particularly if it involves making a fire to get the food going. So many more senses are connected when cooking outdoors. You observe the beautiful place you’ve chosen for the camp, listen to sounds in the woods, birds singing, water running down a stream somewhere behind the trees, smell the smoke from the fire. Watch, hear, smell, feel. That’s why I think outdoor cooking is different and more exciting than indoor cooking.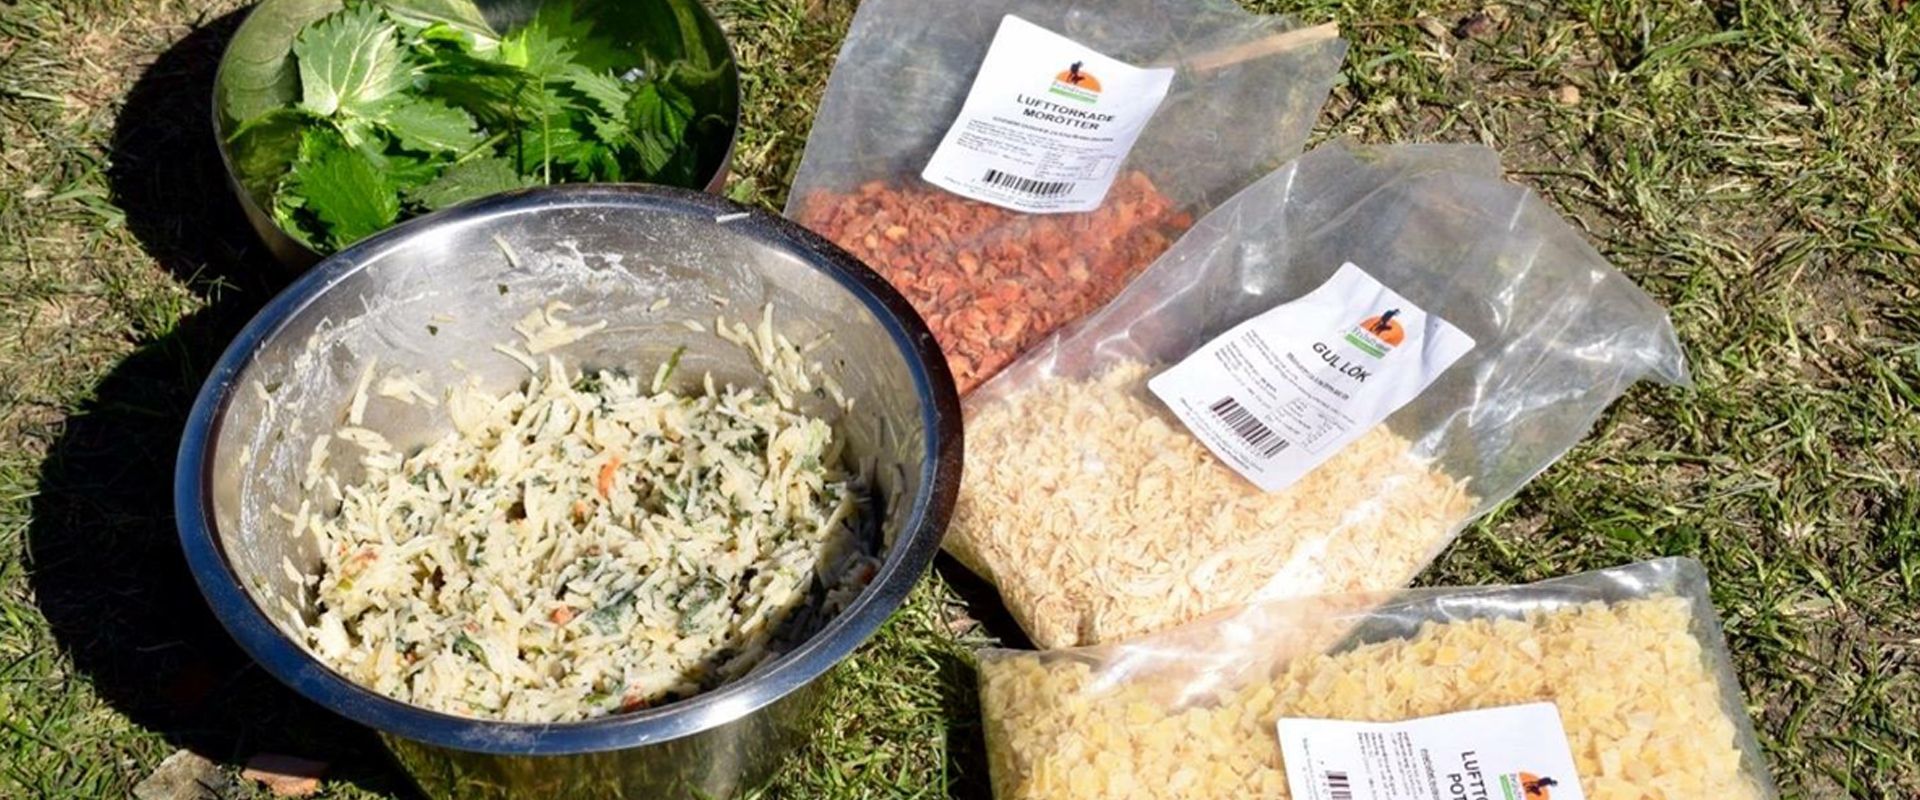
However, many people hesitate to take the step- often because they don’t have the right equipment, the knowledge or just think it seems too complicated. When it comes to equipment, that’s something that is acquired over time. You start simply with a pan or a pot and cook something with a few ingredients. In time you gain knowledge and experience and can further expand your collection of outdoor cooking gear. Knowledge comes with an interest to learn and time invested practicing new skills. Is it complicated? No, it doesn’t have to be. If you think that it’s a hustle bringing tons of heavy ingredients out, prep, chop, slice- there’s a simple solution. Use airdried ingredients when you cook! It saves a lot of time, it weighs less, but it is still as healthy as using fresh veg. Win win!
Some people choose to dry vegetables and meets at home, which is great if you have a good drier and some time on your hands. Maybe you have a garden with loads of homegrown veg, or choose to buy them in bigger amounts from local farmers during harvesting season. Personally I dry a lot of my wild foraged goodies at home. Mushrooms, berries, edible flowers and other greens that I pick during spring, summer and fall. When it comes to vegetables and other ingredients, I prefer buying them from a local Swedish company. There’s a wide range of different vegetables available- onions, carrots, broccoli, aubergine, parsnips, peppers, you name it. They also carry egg powder and certain dried dairy products. The veg are also chopped or grated before they are dried so the only thing I have to do is to soak whatever it is I want to use and start cooking! This comes in particularly handy when I cook during the colder seasons or in the winter. Chopping onions in -15 isn’t the most pleasant activity, the less prep the better in these kinds of situations if you ask me.
The downside of using airdried ingredients is that you won’t get the same consistency as with fresh vegetables, but I do think that the taste in many cases develops during the drying process and becomes more concentrated which can be an advantage when working with different flavours.
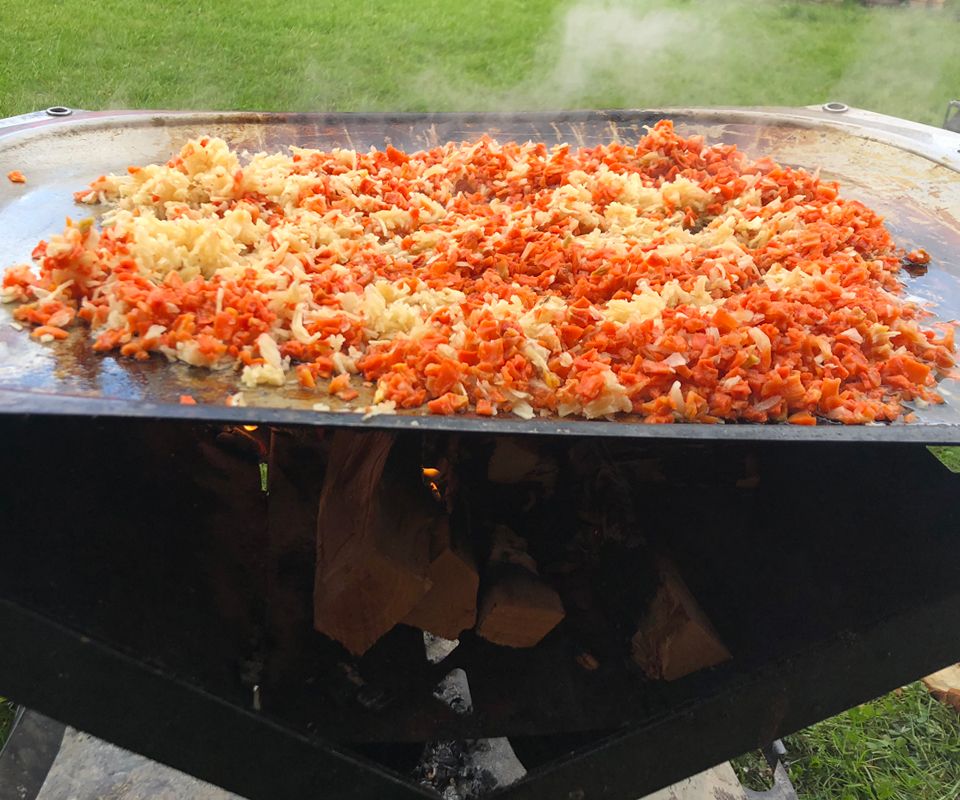
So how does this work? Well, you decide what you’re going to cook, source the ingredients you need and then when your pots are ready you soak the dried ingredients in water for approximately 10-20 minutes. I usually use double the amount of water to the amount of the ingredient. You don’t want to soak in too much water and have to drain afterwards since you don’t want to lose any flavour that might dissolve in the soaking water. Then you just fry or cook the veg as usual.
Another advantage with air dried ingredients is that they have a long shelf-life. They basically last for ever as long as you keep them in airtight containers or bags, in cool temperature and preferably dark. Also, they only weigh 10% of the original weight of the ingredient. So, for instance 100gr of dried potato corresponds to 1 kg fresh potato. Pretty amazing, don’t you think?
What do I usually make with airdried ingredient? Well, one of my favourites is the potato patties (a recipe that you can find HERE). I also make all kind of veggie stir-fries that can be had with a side of rice or on a sandwich (a recipe that you can find HERE). The sky is the limit- find inspiration, use you imagination and start cooking!
February 07 2022